3 Ways to Update User Email Addresses in Your Salesforce Account in 2026

Salesforce notices go nowhere if a user’s email is out-of-date, and that leaves busy admins chasing bounced messages. It also skews activity tracking and license audits.
Below, you’ll see three practical ways to update email addresses: a quick profile edit, a bulk change with Data Loader, and an automated Flow. We’ll weigh effort, risk, and control so you can pick the right path for each scenario.
Table of Contents
Use Salesforce’s UI
Need to swap a user’s email address? Open Salesforce Setup to make the change; it only kicks in after the user confirms the new address.
Step 1: Open Setup
- In Lightning, click the gear icon and pick Setup.
- If you’re still on Salesforce Classic, click Setup at the top of the page.
Step 2: Find the user record
- In the Quick Find box, type “Users.”
- Click Users to open the full list.
Step 3: Edit the correct user
Locate the user, click the name to open the detail page, then hit Edit.
Step 4: Enter the new email address
- In the Email field, type the new address.
- If your org keeps Username and Email the same, update Username too. They can differ, but mismatches confuse some login screens.
Step 5: Choose what happens next
- Select the checkbox if you want Salesforce to send a password reset and notice right away.
- Leaving it unchecked keeps the current password. Either way, Salesforce sends a verification email to the new address when you save.
Step 6: Save
Click Save. A prompt reminds you the user must verify the change.
Step 7: Remind the user to verify
The user receives an email titled “Verify your new Salesforce email address.” They must click the link within 72 hours. Until then, the old address still gets notifications.
Step 8: Confirm the switch
After the user verifies, refresh their record. The Email field shows the new address, and you’ll see “Email Verified” on the page.
Use Torii
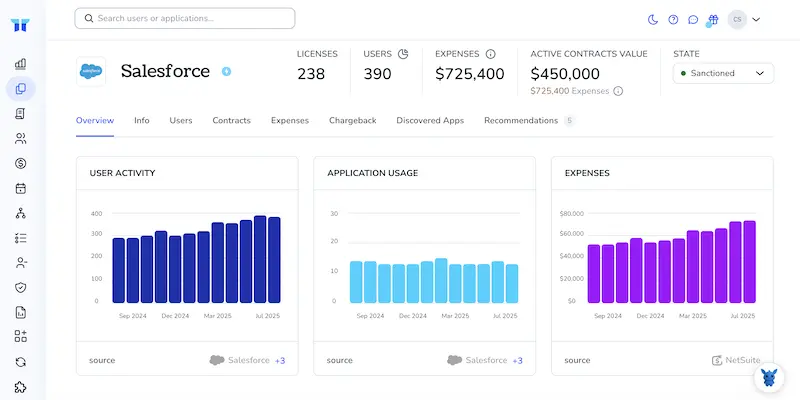
Instead of logging in to Salesforce and updating a user’s email one by one, you can use Torii, a SaaS Management Platform. SMPs show every application and integration in one place, so you can add or remove users, inspect subscription data, and handle related tasks from a single dashboard.
Torii turns that email change into an automated job that runs when a chosen event occurs. Examples include onboarding a new hire, removing a departing employee, or renewing a contract, and each case updates the address without manual work.
To change a user email in Salesforce with Torii, follow these steps:
1. Sign up for Torii
Contact Torii to request a free two-week proof of concept.
2. Connect your Salesforce account to Torii
After your Torii workspace is live, link your Salesforce instance. Detailed steps appear in the Salesforce integration guide.
3. Create a Torii workflow for Salesforce
Open the Workflows tab in Torii, pick your trigger, and add an action that updates the user’s email in Salesforce. Whenever the trigger fires, the address in Salesforce changes automatically.
Use Salesforce’s API
Below, you’ll walk through the calls needed to change a user’s email address with Salesforce’s REST API. No clicks, just requests.
1. Grab an access token
Salesforce won’t accept any REST calls until you hand over a valid OAuth 2.0 access token.
Send a POST to
/services/oauth2/token
with grant_type=password (or any flow you already use), client ID, client secret, username, and password + security token.
Note the access_token in the JSON reply. You’ll pass it as a header, like
Authorization: Bearer 00D..
2. Find the user record
You need the user’s Id before you can patch the email address, so grab that value first.
Build a SOQL query. One tidy way is to search by the current email:
SELECT Id, Email FROM User WHERE Email = '[email protected]'
Call
GET /services/data/v59.0/query?q=SELECT+Id,Email+FROM+User+WHERE+Email='[email protected]'
with the auth header from step 1.
Copy the Id that comes back. Example: 0058c00000ABCDe.
3. Patch the Email field
According to Salesforce’s REST guide, you should update the User sObject with a PATCH request rather than POST.
Create a JSON body with the new address:
{
    "Email": "[email protected]"
}
Send
PATCH /services/data/v59.0/sobjects/User/0058c00000ABCDe
Headers:
Authorization: Bearer 00D.
Content-Type: application/json
A 204 No Content response means it worked. No body comes back.
Salesforce automatically emails the user a verification link. The address doesn’t switch until they click it.
4. Confirm the change
After the user clicks the verification link, wait a minute or two, then run the query again:
GET /services/data/v59.0/query?q=SELECT+Id,Email+FROM+User+WHERE+Id='0058c00000ABCDe'
If the Email field shows the new address, you’re done. Otherwise, the user still needs to verify.
Torii for SaaS Management
If you’re wondering how SaaS Management could streamline daily operations, we’d love to talk. Torii’s SaaS Management Platform enables you to:
- Uncover shadow IT: AI keeps an eye on your stack, flagging unapproved or unknown apps the moment they appear.
- Reduce spending: Cut waste by removing idle licenses and duplicate tools, reducing spend.
- Automate onboarding and offboarding: Workflows take repetitive tasks off your plate, shrink errors, and give time back.
- Stay ahead of renewals: Timely alerts mean contract end dates never slip through.
Torii delivers the industry’s first unified SaaS Management Platform, giving Finance, IT, and Security teams a single, reliable view of every application in use.
Learn more by visiting Torii.
Frequently Asked Questions
You have three options: edit the Email field in Setup for single users, run a bulk update with Data Loader or the REST API, or create a Torii workflow that automatically patches addresses when onboarding, offboarding, or renewal events occur.
When you click Save, Salesforce emails the user a verification link. The old address keeps receiving notifications until the link is clicked within 72 hours. You may send a password reset, but the switch is not final until the page shows "Email Verified."
Yes. Export user IDs, build a CSV with the new Email and optional Username columns, then run Data Loader in Update mode. Salesforce sends each recipient a verification message, so schedule the job when users can confirm promptly.
After connecting your Salesforce instance, create a Torii workflow, choose a trigger such as New Hire or Contract Renewal, and add the Update User Email action. Whenever the trigger fires, Torii calls Salesforce and updates the address without manual clicks.
Obtain an OAuth token, query the User object to get the Id, then send a PATCH request to /sobjects/User/{Id} with the new Email in JSON. A 204 response means success, and Salesforce immediately emails the user for verification.
Stale addresses cause bounced notifications, hide real activity, and distort license audits. Updating emails ensures critical alerts reach the right people, improves reporting accuracy, and saves admins from chasing undelivered messages.
