3 Ways to Add Users to Zoom

Need to add people to Zoom without creating chaos? Whether you’re onboarding a small team or rolling out across departments, picking the right path saves time and keeps your org tidy.
This guide breaks down three options, manual invites, bulk CSV, and automated SSO/domain provisioning, when to use each, and how they affect roles, licenses, groups, and policies. Then we’ll walk through clear steps for each method.
Table of Contents
Use Zoom’s UI
Here, you’ll use the Zoom web portal to link an existing Zoom user to your account by inviting them through User Management. This is the path Zoom outlines in its Managing users and Adding new users help articles.
1. Sign in as the account owner or an admin
- Go to the Zoom web portal and sign in.
- In the left navigation, select User Management, then Users.
2. Invite the user you want to link
- Click Add users.
- Enter the user’s work email address. You can add more than one, separated by commas.
- Choose what they get on day one:
- User type: Basic or Licensed.
- Add-ons if needed: Large Meeting, Webinar, Zoom Phone, Whiteboard, and so on.
- Click Add to send the invite.
Tip: If you see an error that the email is already part of another managed account, the user may need to be released by their current admin first. Zoom’s Managing users doc explains these cases.
3. Have the user accept the invite to join your account
- Zoom emails the user an invite to join your account.
- What they’ll see depends on their situation:
- No Zoom account yet: They activate their account and are added to your account.
- Already has a Zoom account with that email: Zoom asks them to move into your account. Their meetings, webinars, and settings come with them. If they had a paid plan, Zoom guides them on transferring or refunding.
- The invite expires after 30 days. If needed, go back to User Management > Users and click Resend next to their name.
If they can’t find the email, have them check spam or sign in at zoom.us. Zoom often shows the join prompt after sign-in too.
4. Confirm the user is linked and set their license
- In User Management > Users, find the user. Status should be Active, not Pending.
- Click Edit to change their user type or add-ons.
- If you organize access by groups, go to User Management > Groups and add them to the right group.
5. Need to link many users with your company domain? Use managed domains
Zoom can automatically pull in users who sign up with your company email and let existing users with that domain join your account. Zoom’s Managed domains and Automatically add users to your account docs cover this in detail.
Verify your domain:
- Go to Account Management > Account Profile.
- Find Managed domains and click Add.
- Enter your domain, then follow the prompts to verify. Zoom supports DNS TXT or email verification.
- Turn on the join and auto-add options:
- Go to User Management > Users > Advanced.
- Enable:
- Allow users with the same domain to join this account.
- Automatically add users to your account if they sign up with your domain.
- Optional controls:
- Require users with your domain to join your account.
- Prevent users with your domain from joining other accounts.
Once these are on, users with your domain get prompted to join your account, and new sign-ups with that domain can be added automatically.
Use Torii
Instead of working inside Zoom, you can use Torii, a SaaS Management Platform, to link user in Zoom. SMPs centralize management of SaaS subscriptions and integrations, allowing teams to programmatically onboard/offboard users, review subscription details, and more from a single place.
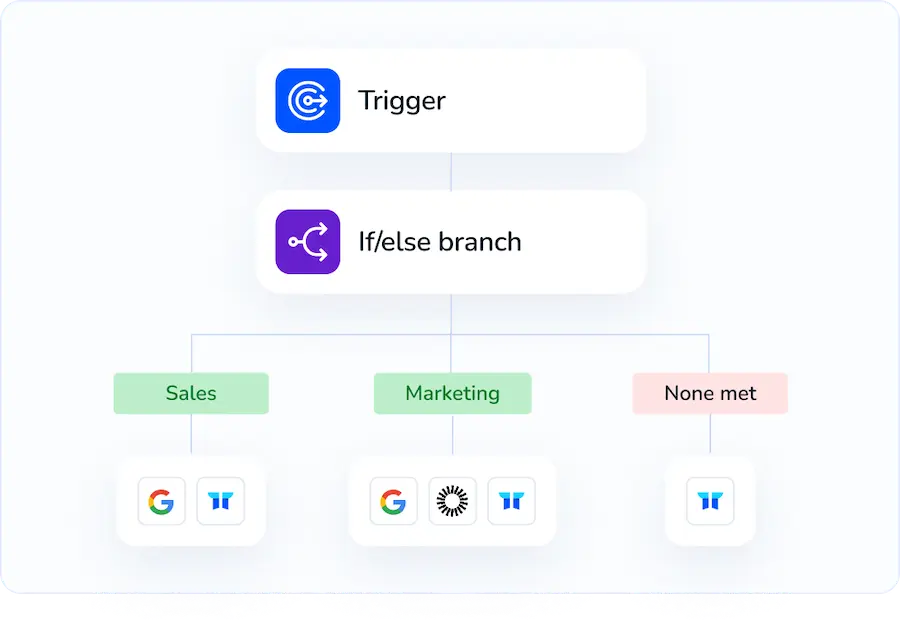
With Torii, the step that would be manual in Zoom becomes automated. You can set event-based triggers-like a new hire, an exiting employee, a contract renewal, or similar-and let the action run automatically. This saves time and reduces repetitive work when the task recurs often.
To link user in Zoom directly through Torii, follow these steps:
1. Sign up for Torii
Contact Torii, and request your free two-week proof-of-concept.
2. Connect your Zoom account to Torii
Once your account is active, connect Zoom to Torii (assuming you already have an account). Follow these Zoom integration instructions.

3. Create a Torii workflow for Zoom
In Torii, set up an automated workflow to link user in Zoom. Go to the Workflows tab, define a trigger, and add the action that will link user in Zoom. From then on, whenever the trigger conditions are met, Zoom will be updated automatically.

Use Zoom’s API
Here, you’ll use Zoom’s Users API to give one user scheduling privilege for another. That “links” a scheduler to a host so the scheduler can create meetings on the host’s behalf.
Get an access token with the right scope
Use an OAuth access token that includes:
- For managing other users:
- user:write:admin
- For managing your own user only:
- user:write
You’ll send this token as a Bearer token in the Authorization header on every call.
Know the two users you’re linking
You need:
- The host user (the person who owns the meetings)
- The scheduler user (the person who will schedule for the host)
Both users must be in the same Zoom account. In most Users API paths, you can use either the user’s Zoom ID or their email in the path parameter.
Add the scheduler to the host
Call the Users API to add scheduling privilege. This links the scheduler to the host.
Example curl is:
curl -X POST "https://api.zoom.us/v2/users/[email protected]/schedulers" \
-H "Authorization: Bearer YOUR_ACCESS_TOKEN" \
-H "Content-Type: application/json" \
-D '{
    "schedulers": [
        { "id": "[email protected]" }
    ]
}'
Notes:
- Path parameter
users/{userId}can be the host’s email or user ID. - In the body, each scheduler item can be an email or user ID.
Confirm the link
Fetch the host’s schedulers to confirm it worked.
Example curl is:
curl -X GET "https://api.zoom.us/v2/users/[email protected]/schedulers" \
-H "Authorization: Bearer YOUR_ACCESS_TOKEN"
You should see the scheduler listed.
Remove the link (if needed)
If you need to unlink, delete the scheduler from the host.
Example curl is:
curl -X DELETE "https://api.zoom.us/v2/users/[email protected]/schedulers/schedulerUserIdOrEmail" \
-H "Authorization: Bearer YOUR_ACCESS_TOKEN"
Tip:
If you don’t know the scheduler’s ID, list the schedulers first (previous step) and use the returned id value.
Handle common errors quickly
- 401 or 403:
- Check the token and make sure it has user:write:admin (to manage others) or user:write (for self).
- 404:
- The host or scheduler isn’t found, or the email isn’t in your account.
- 400:
- The users aren’t in the same account, or the body is malformed. Double-check the
schedulersarray shape.
- The users aren’t in the same account, or the body is malformed. Double-check the
Frequently Asked Questions
You have three options to add users to your Zoom account: use the Zoom web portal (manual invites or managed domains), upload a bulk CSV for batches, or automate provisioning via SSO/domain or an SMP like Torii.
Use the Zoom UI for a handful of users or one-off invites, CSV bulk import for large onboarding batches, and SSO/domain provisioning or managed domains when you need automatic company-wide joins, stricter controls, and consistent licensing and policies.
Sign in as the account owner or admin, go to User Management > Users, click Add Users, enter emails, choose user type and add-ons, send the invite, then confirm the user is Active and assign licenses or groups as needed.
Sign up for Torii, connect your Zoom account, create a workflow with triggers like new hires or exits, and add the action to link users in Zoom. Torii runs the workflow automatically to onboard or offboard users and manage subscriptions.
Obtain an OAuth token with user:write:admin (others) or user:write (self), POST to /users/{host}/schedulers with a schedulers array containing the scheduler id or email, verify with GET, and remove via DELETE when needed.
401/403 indicates an invalid or insufficient token—check scopes. 404 means a host or scheduler wasn’t found or isn’t in your account. 400 signals a malformed body or users in different accounts—verify request shape and user IDs or emails.

