3 Ways to Add Users to Zoom

Adding people to Zoom affects account settings, role assignments, and meeting access across your organization. Do it carefully , or you’ll end up with confused permissions, missing recordings, and more admin work than you expected.
I’ll walk through three ways to add users: account-level user management, assigning roles and permissions, and controlling access at the meeting level. Each method has clear, step-by-step instructions so you can choose what fits your team size and security needs.
Table of Contents
Use Zoom’s UI
Here you’ll use the Zoom web portal to add a member to your account. These steps assume you have the admin or user-management privilege needed to add people.
Sign in and open Users
- Sign in to the Zoom web portal.
- In the left menu, go to User Management, then choose Users.
Start the add-user flow
- Click Add Users.
- Pick whether you want to add one person or multiple people.
Add a single user
- Fill out the fields shown. Typical fields include:
- Email address
- First name (optional)
- Last name (optional)
- User type (Basic, Licensed, or On-prem)
- Role or group assignment (optional)
- Choose whether to send an invitation email. If you send it, the person will get a message to activate their account.
- Click Save or Add to finish.
Add multiple users (CSV)
- Choose the option to add multiple users or to import from CSV.
- Use the CSV template from the Add Users dialog so your columns match Zoom’s required format.
- Upload the completed CSV and follow the prompts to set default user type or group if asked.
- Review the preview, then confirm the import.
After adding users
- New users usually appear with a status like Pending or Active.
- Users who were invited must accept the email invite to activate their accounts.
- If you assigned Licensed seats, confirm you have available licenses; otherwise the user may default to Basic until a license is freed.
Quick troubleshooting tips
- If an email is already in use, ask the person if they have an existing Zoom account tied to that address.
- If you don’t see User Management, check your admin role or ask the account owner to grant the needed permission.
- For SSO-managed accounts, user provisioning rules may differ; coordinate with your identity provider.
That’s it-add the person, confirm their status, and assign licenses or groups as needed.
Use Torii
Rather than working inside Zoom itself, you can add member in Zoom through Torii, a SaaS Management Platform. SMPs let organizations combine management of their SaaS subscriptions and integrations in one place, making it simple to programmatically onboard/offboard users, view subscription details, and more.
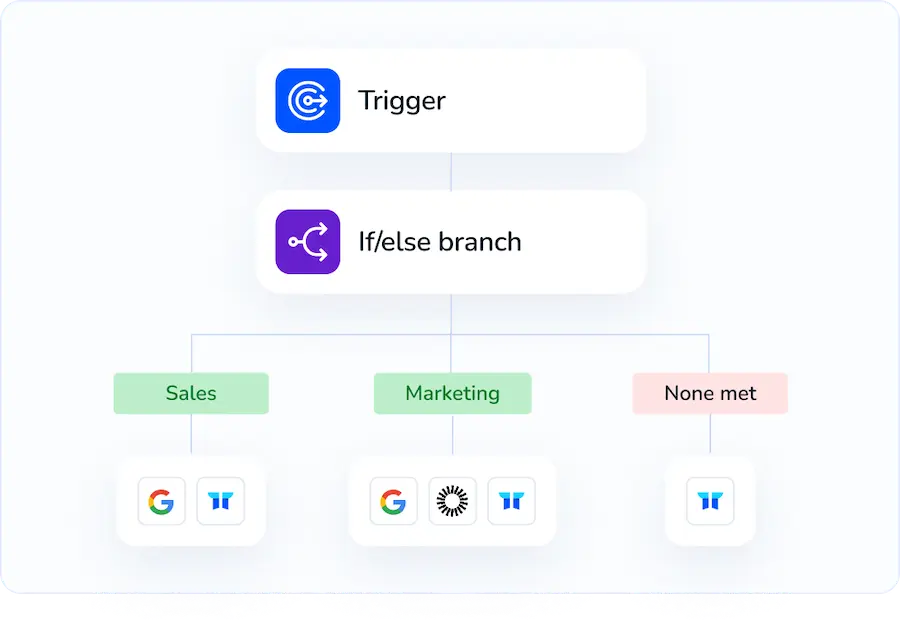
Instead of performing the task manually in Zoom, Torii lets you automate it so the update happens automatically when a defined trigger occurs - for example a new hire, an employee departure, a contract renewal, etc. This is helpful when the action must be performed often and you want to save time.
To add member in Zoom straight from Torii, follow these steps:
1. Sign up for Torii
Contact Torii, and ask for your free two-week proof-of-concept.
2. Connect your Zoom account to Torii
Once your account is active, link Zoom to Torii (assuming you already have an account). Here are the instructions for the Zoom integration.

3. Create a Torii workflow for Zoom
In Torii you can build an automated workflow that adds member in Zoom. Open the Workflows tab, define the trigger, then add an action that creates the Zoom member. After that, whenever the trigger is met, Torii will perform the Zoom update automatically.

Use Zoom’s API
Here you’ll call Zoom’s Create a User API to add a member to your account via the API. This path follows Zoom’s documented POST /users flow and assumes you have an access token ready.
Step 1: Get an access token
- Use OAuth or a server-side JWT as described in Zoom’s API docs.
- Make sure the token has the right scope(s), for example:
user:write:adminoruser:write. - If you get a 401 or 403, the token is missing or lacks the required scope.
Step 2: Prepare the request
- Endpoint and method:
POST https://api.zoom.us/v2/users
- Required headers:
Authorization: Bearer {ACCESS_TOKEN}Content-Type: application/json
- Body basics:
- Include the
actionparameter and the new user’s info.
- Include the
- Typical fields to send:
emailtype(user type: 1 = Basic, 2 = Licensed, 3 = On-prem)first_namelast_name
Example curl is:
curl --request POST "https://api.zoom.us/v2/users" \
--header "Authorization: Bearer $ACCESS_TOKEN" \
--header "Content-Type: application/json" \
--data '{
    "action": "create",
    "user_info": {
        "email": "[email protected]",
        "type": 1,
        "first_name": "New",
        "last_name": "User"
    }
}'
Note: The action value controls how Zoom creates the user (for example create, custCreate, or autoCreate). Check Zoom’s docs for what each action does and pick the right one for your workflow.
Step 3: Send the request and handle the response
- On success you’ll get a 201 (Created) response with the created user’s info and Zoom ID.
- On failure you’ll see a 4xx or 5xx status and an error object explaining the issue.
Example success response:
{
    "id": "1234567890",
    "first_name": "New",
    "last_name": "User",
    "email": "[email protected]",
    "type": 1
}
Step 4: Common errors and fixes
Common causes to check:
- Authorization problems:
- Token expired, wrong type, or missing scope.
- Validation or data errors:
- Missing
emailor invalidtypevalue.
- Missing
- Conflicts:
- User already exists (409).
- If you hit an error, log the full response and match the error code/message to Zoom’s API docs to decide the next step.
Step 5: Next actions after creation
- Decide whether you need to update the user (PATCH /users/{userId}) or assign roles/permissions via other Zoom APIs.
- If you need an activation or provisioning change, follow the specific endpoints and fields in Zoom’s docs for those tasks.
Frequently Asked Questions
You have three ways to add users to a Zoom account: use the Zoom web portal, automate onboarding through Torii workflows, or call Zoom’s Create a User API. Pick the method that matches your team’s size, security policy, and automation needs.
You must be the account owner, an admin, or have the User Management privilege. API calls also need a token with scopes such as "user:write:admin". Without these permissions, the Users tab or API request will return an authorization error.
From Users in the web portal, choose Add Users > Import from CSV, download Zoom’s template, populate required columns, upload the file, set a default user type or group if prompted, review the preview, and confirm the import.
The status "Pending" means the person received an invitation email but hasn’t clicked the activation link. Ask them to check spam, resend the invite if needed, or provision the account manually through SSO if your organization uses it.
Basic users are free seats with 40-minute group meeting limits. Licensed users consume a paid license and unlock features like extended meeting duration and cloud recording. On-Prem users are hosted on your own Zoom Meeting Connector and require additional infrastructure.
Common API issues include 401/403 authorization errors from expired or under-scoped tokens, 400 validation errors for missing email or invalid type, and 409 conflicts when the email already exists. Inspect the error object and adjust token scopes or payload fields accordingly.

