3 Ways to Update Users in Zoom

Keeping Zoom user details current can feel like herding cats. Names change, departments shuffle, permissions shift; if profiles lag behind, meetings get messy and reports lose meaning.
Good news: you don’t need a full afternoon or advanced scripts to fix it. We’ll walk through three proven ways, inside the web portal, in bulk with CSV, and via the API, so every update sticks.
Table of Contents
Use Zoom’s UI
You’ll use the Zoom web portal to adjust an existing user’s details, license, or role. Everything happens in User Management and takes only a few minutes with admin rights.
Step 1: Sign in as an admin
- Visit
zoom.us/signinand log in with an account that has User Management permission. - If you see the left-hand navigation bar, you’re in the right place.
Step 2: Open User Management
- In the left panel, select User Management, then click Users.
- A list of every user in your organization appears.
Step 3: Locate the user you want to edit
- Use the search bar at the top right to type the person’s email or name.
- Zoom narrows the list as you type, so the right row appears almost instantly.
Step 4: Edit basic profile info
- Click the email address of the user to open their profile page.
- In the User Information card, hit Edit.
- Update fields like first name, last name, job title, or department.
- Click Save at the bottom of the window.
These edits sync across meetings, webinars, and reports immediately, per Zoom’s “Managing Users” guide.
Step 5: Change license type (Basic, Licensed, or Zoom Phone)
- Back on the user’s profile, look for User Type.
- Click Edit beside it.
- Pick the new license level. If you choose Licensed, select any add-ons (Large Meeting, Webinar, etc.) in the same pop-up.
- Click Save.
Zoom bills the new license right away or credits you if you downgrade, as explained in their licensing FAQ.
Step 6: Update role or group assignment
- From the Users list, tick the checkbox left of the user’s name.
- A toolbar appears; choose Change Role or Add to Group.
- Select the desired role or group and confirm with Save.
- Roles control admin permissions, while groups dictate default settings like meeting passwords and recording rules.
Step 7: Confirm everything worked
- The user row now shows the updated license and role.
- Have the user sign out and back in if they don’t see new features right away.
- If anything looks off, repeat the steps or make sure you have enough licenses available.
You’re done. A handful of clicks keeps your user data current and your account organized.
Use Torii
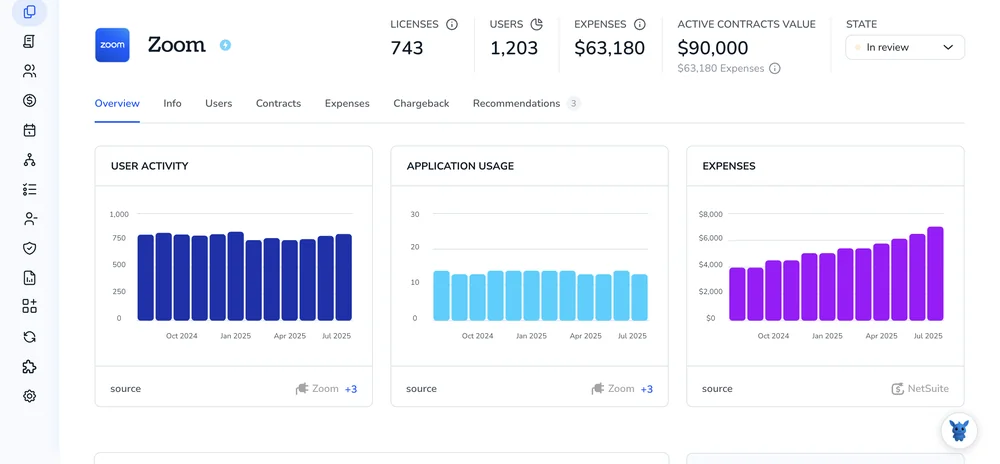
Instead of logging into Zoom and making each change by hand, you can use Torii, a SaaS management platform, to update users in Zoom. SMPs collect all SaaS subscriptions and integrations in one place, letting teams onboard or offboard users, review license details, and handle other tasks from a single dashboard.
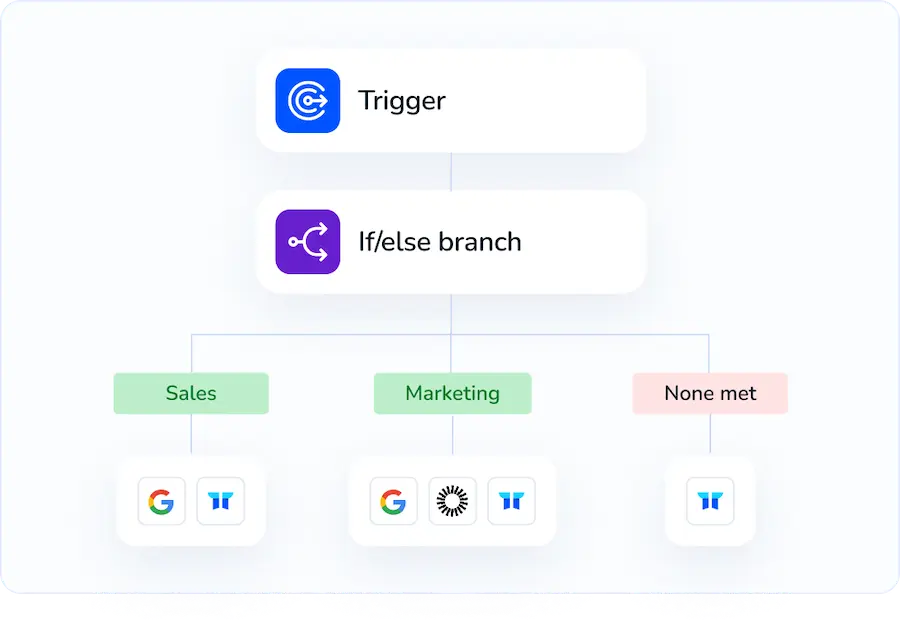
Zoom alone needs manual edits, but Torii runs them automatically after you set a trigger, like a new hire, a departure, or a contract renewal. If the task pops up often, letting the workflow run on its own saves a chunk of time.
To update a user in Zoom directly through Torii, follow these steps:
1. Sign up for Torii
Contact Torii and request a free two-week proof-of-concept.
2. Connect your Zoom account to Torii
After your Torii workspace is live, connect your existing Zoom account. Follow these Zoom integration instructions.

3. Create a Torii workflow for Zoom
Within Torii, set up an automated workflow to update users in Zoom. Go to the Workflows tab, choose a trigger, and add an action that updates the Zoom user. From then on, every time the trigger fires, Zoom updates happen automatically.

Use Zoom’s API
Below you’ll walk through the exact API call Zoom expects when you need to change a user’s details, with no dashboard clicks, just code.
1. Grab an access token
- Use either OAuth or a Server-to-Server JWT app.
- Make sure the token carries the
user:write:adminscope (oruser:writeif you’re only allowed to change your own account).
2. Pick the user to update
You can pass the user’s email or the Zoom user ID in the path parameter {userId}.
3. Build your JSON payload
Keep the body lean; Zoom updates only the fields you include, and ignores anything else you leave out.
{
    "first_name": "Ari",
    "last_name": "Patel",
    "type": 2,
    "department": "Customer Success"
}
Common fields
first_name,last_nametype(1 = Basic, 2 = Licensed, 3 = On-Prem)department,group_id,job_title, and more as listed in Zoom’s docs
4. Send the PATCH request
PATCH https://api.zoom.us/v2/users/{userId}
Authorization: Bearer YOUR_ACCESS_TOKEN
Content-Type: application/json
Curl example:
curl --request PATCH \
--url https://api.zoom.us/v2/users/[email protected] \
--header "Authorization: Bearer $ACCESS_TOKEN" \
--header "Content-Type: application/json" \
--data '{
    "first_name": "Ari",
    "last_name": "Patel",
    "type": 2
}'
5. Check the response
- 204 No Content means success.
- 4xx or 5xx means Zoom returns a JSON error message; fix the payload or token and try again.
That’s it: user updated and no UI clicks needed.
Torii for SaaS Management
You can squeeze more value from your SaaS portfolio with the right tools. Torii’s SaaS Management Platform can help you:
- Find shadow IT fast: AI monitoring spots unsanctioned apps the moment they appear.
- Cut spend: Remove idle seats and merge overlapping tools.
- Simplify employee milestones: Automated onboarding and offboarding save IT hours and avoid missteps.
- Keep renewals under control: Smart reminders surface every contract date before it sneaks up.
Torii is the industry’s first end-to-end SaaS Management Platform, giving Finance, IT, and Security a single, reliable source of truth.
See how it works at Torii and start trimming SaaS waste today.
Frequently Asked Questions
Admins can refresh user details three ways: open User Management in the Zoom web portal for quick edits, automate changes with a Torii workflow, or send a PATCH request through the Zoom API. Choose whichever matches your volume, timeline, and skillset.
Yes. In User Management, open the person’s profile, click Edit next to User Type, select Basic, Licensed, or Zoom Phone, pick any add-ons, and save. Zoom immediately applies the change and adjusts billing or credits accordingly.
Zoom accepts only the fields you include. Common editable items are first_name, last_name, type for license level, department, group_id, and job_title. Leave unwanted keys out of the JSON body and Zoom keeps existing values untouched.
The access token must carry the user:write:admin scope when you act on behalf of the account. If you are updating only your own record, user:write is enough. Without the correct scope, Zoom returns 401 or 403 errors.
Torii connects to Zoom once, then runs workflows triggered by events like onboarding, offboarding, or renewal dates. Each trigger automatically calls Zoom’s API to edit profiles or licenses, so IT teams avoid repetitive clicks and ensure data stays current.
License changes apply the moment you click Save. Upgrades charge your account immediately and unlock new features after the user signs back in, while downgrades free the seat and produce an instant pro-rated credit, according to Zoom’s licensing policy.

