3 Ways to Assign Licenses to Microsoft 365 in 2026

Keeping track of who can do what in Microsoft 365 can feel like juggling live wires. One wrong move and someone loses access to Outlook or Teams at the worst time.
This article breaks down three reliable ways to assign licenses, directly to users, through group-based licensing, and with PowerShell scripts, so you can match each method to your workload, keep compliance tight, and cut busywork.
Table of Contents
Use Microsoft 365’s UI
Use the Microsoft 365 admin center to assign product licenses quickly.
1. Sign in with the right role
- Go to admin.microsoft.com.
- Sign in as a Global, Billing, or License admin.
- Anyone in another role won’t see licensing choices.
2. Open the Active users list
- In the left-hand navigation pane, pick Users.
- Click Active users.
- The user grid loads; you can search or filter from here.
3. Select the people who need licenses
- Check the box beside one user for single assignment.
- To handle a group at once, select multiple boxes or use the top box to grab every visible name.
4. Launch the Licenses and Apps pane
- With at least one user selected, a details pane pops open on the right.
- Choose Licenses and Apps.
- The list shows each product your organization owns and the remaining seats.
5. Turn on the needed products
- For each product, flip the license toggle to On.
- Keep an eye on the seat counter; when it reaches zero, add seats or reclaim unused ones before assigning more.
6. Fine-tune service plans (optional)
- Some products expand to show service plans like Exchange Online or Teams.
- Leave everything on for a full license or switch off items you don’t want the user to have.
- This change doesn’t affect other users.
7. Save your changes
- Click Save changes at the bottom of the pane.
- A confirmation banner appears, then the pane closes.
8. Verify
- Back in the user grid, open one of the modified users.
- In their Account tab, scroll to Licenses and Apps to confirm the new license is listed.
The user should sign out and back in to access the new apps, then you can continue with other work.
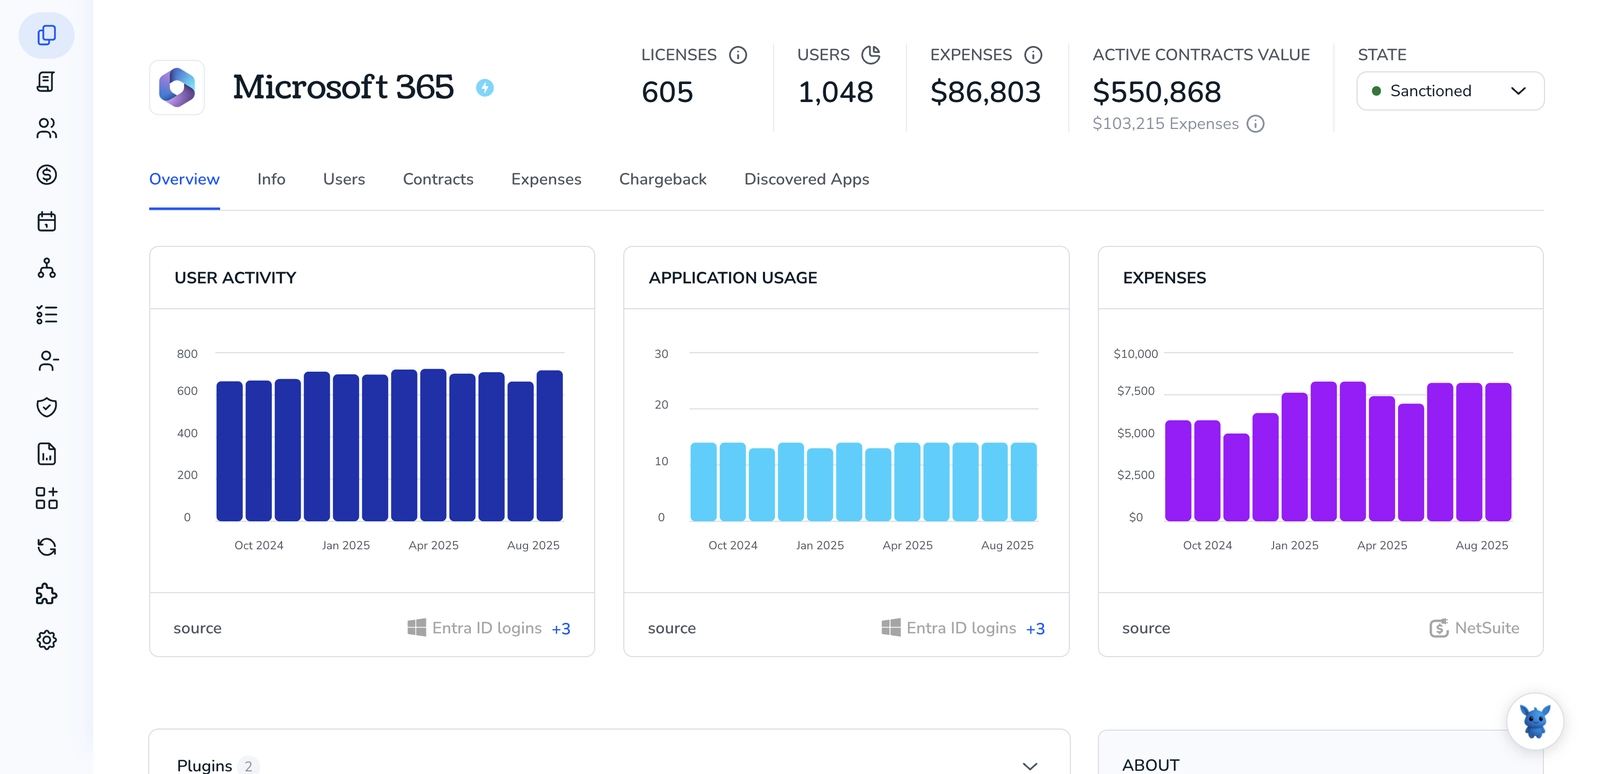
Use Torii
Managing Microsoft 365 licenses through Torii keeps everything in one place. This SaaS management platform (SMP) pulls together administration for all your cloud apps, letting you automate onboarding and offboarding, review subscriptions, and more.
Torii’s automation engine kicks in whenever a condition you set is met, such as a new hire or an upcoming renewal. This hands-free approach saves time when the task repeats.
Follow the steps below to allocate Microsoft 365 licenses through Torii:
1. Sign up for Torii
Get in touch with Torii and request a complimentary two-week proof-of-concept.
2. Connect your Microsoft 365 account to Torii
After your Torii environment is active, link your existing Microsoft 365 tenant to Torii. You can find the setup instructions here: Microsoft 365 integration guide.
3. Create a Torii workflow for Microsoft 365
Inside Torii, open the Workflows tab, select a trigger, then add an action that assigns the needed Microsoft 365 licenses. After you hit save, the system updates Microsoft 365 whenever that trigger fires.

Use Microsoft 365’s API
Here’s how to hand out Microsoft 365 licenses with the Microsoft Graph API instead of clicking through the admin center.
1. Grab an access token
- Register an Azure AD app or use an existing one.
- Give it the
User.ReadWrite.Allapplication permission. - From your auth flow, grab a bearer token for Microsoft Graph.
# Device code flow example
curl -X POST https://login.microsoftonline.com/{tenant_id}/oauth2/v2.0/token \
-F grant_type=device_code \
-F client_id={client_id} \
-F scope=https://graph.microsoft.com/.default
Be sure to copy the access_token value from the response and keep it handy. You’ll need it for every call.
2. Collect what you’re assigning
- Choose the user account; Graph accepts the
id,userPrincipalName, ormailvalue. - Find the license (SKU) you want to add.
- Call
GET /v1.0/subscribedSkus. - Copy the
skuIdyou need.
3. Build the request body
When you call assignLicense, you need to send two arrays:
addLicensesholds objects with askuIdand, if you’re skipping any service plans, adisabledPlansarray.removeLicensesis for taking licenses away. Leave it empty if you’re only adding.
{
    "addLicenses": [
        {
            "skuId": "c42b9cae-ea4f-4ab7-9717-81576235ccac",
            "disabledPlans": []
        }
    ],
    "removeLicenses": []
}
4. Call assignLicense
curl -X POST https://graph.microsoft.com/v1.0/users/{user_id}/assignLicense \
-H "Authorization: Bearer {access_token}" \
-H "Content-Type: application/json" \
-D @body.json
A 200 response means the license is now tied to the user. You will see the updated assignedLicenses array in the body of the response, which confirms the change.
5. Double-check the user’s licenses
Run one more GET request and check that the assignedLicenses array lists the new skuId. If it shows up, you’re done.
Torii for SaaS Management
Ready for deeper insight into SaaS management across your stack? Torii’s SaaS management platform lets you do all of the following without spreadsheets or manual audits:
- Uncover shadow IT: AI-driven discovery sweeps your environment around the clock, flagging unauthorized apps as soon as they show up so nothing slips through.
- Reduce spend: Cut waste by eliminating idle licenses and overlapping subscriptions, and redirect those funds to tools employees use.
- Automate joiner/mover/leaver workflows: Automated onboarding and offboarding free IT from repetitive tasks, reduce mistakes, and give new hires a smoother first day.
- Stay ahead of renewals: Timely renewal alerts land in your inbox long before deadlines, giving you space to negotiate or cancel unwanted contracts.
Torii offers the first unified SaaS management platform, giving Finance, IT, and Security one reliable source of truth.
Visit Torii to explore features, review customer stories, request a demo, and see transparent pricing details.
Frequently Asked Questions
You can allocate licenses three ways: use the Microsoft 365 admin center for point-and-click assignment, automate distribution through Torii’s workflows, or call the Microsoft Graph API’s assignLicense endpoint from PowerShell or another script.
Only users with Global, Billing, or License Admin roles see licensing options in admin.microsoft.com. Sign in with one of those roles before opening Users → Active users to add or remove product seats.
After connecting your tenant, Torii lets you build workflows that trigger on events—such as a new hire or renewal date—and automatically assign, reclaim, or report on Microsoft 365 licenses without manual clicks.
Send a POST request to /v1.0/users/{userId}/assignLicense with an access token, a skuId in addLicenses, and an optional disabledPlans array. A 200 response returns the updated assignedLicenses collection for confirmation.
Yes. In the admin center, expand a product to toggle services like Exchange Online or Teams. Via Graph, list plan IDs under disabledPlans when calling assignLicense to turn specific services off for that user.
In the admin center, reopen the user’s Account tab and check Licenses and Apps. With Graph, run GET /users/{userId} and verify the skuId appears in assignedLicenses. Either method should show the newly added product.
