2 Ways to Add Users to OpenAI Projects

Adding teammates to OpenAI Projects shouldn’t be a guess. Whether you’re spinning up a sandbox or locking down production, access matters.
We’ll compare two ways to add users: quick invites in the Console and centralized provisioning through your identity stack or API. You’ll learn when each fits, how roles and permissions affect what users can do, and what to consider for scale, auditability, and least-privilege setups.
Table of Contents
Use OpenAI’s UI
Here, you’ll use OpenAI’s UI to add a teammate to an existing project. This follows OpenAI’s own documentation for managing project members in the dashboard.
Open the project
- Sign in to the OpenAI platform and switch to the correct workspace if you have more than one.
- In the left sidebar, select Projects.
- Click the project you want to share.
Go to the project’s member controls
- In the project, open the Access or Members tab. The label may vary slightly, but it’s where you see who can use the project.
- If you don’t see an option to manage members, you likely don’t have permission. Ask a workspace owner or admin to grant you access or send the invite for you.
Invite the user
- Click Invite or Add member.
- Enter the person’s work email address. Use the email they’ll sign in with.
- Choose the project role that matches what they need to do.
Pick the right role
- Typical options let you control how much they can change:
- Admin or Manager can manage settings, keys, and members.
- Developer can view keys and build with the project.
- Viewer or Read-only can see settings and usage, but not change them.
- If you’re unsure, start with the least access they need. You can upgrade later.
Send the invite
- Click Send invite. The person will get an email from OpenAI.
- Until they accept, their status shows as Pending in the project’s member list.
Confirm access and test
- After they accept, refresh the Members or Access tab to confirm their role shows as Active.
- Ask them to open the same project in the UI to make sure they can see what they need.
Adjust or remove later
- To change permissions, return to the project’s Members or Access tab, select the person, and edit their role.
- To remove someone, select the user and choose Remove from project.
Notes:
- Per OpenAI’s docs, inviting someone to a project also brings them into your workspace if they aren’t already a member. They must accept the email invite before they can access the project.
- If your workspace restricts external domains, an owner or admin may need to approve the email domain or send the invite.
Use Torii
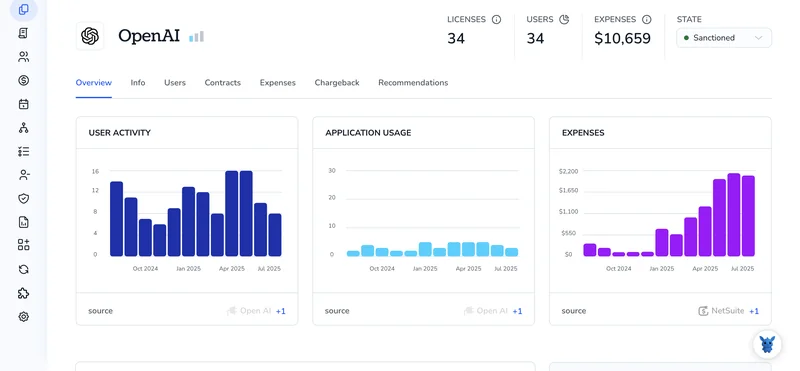
Rather than going through OpenAI directly, consider using Torii, a SaaS Management Platform, to add user to project in OpenAI. SMPs centralize your SaaS stack and integrations, letting you programmatically on/offboard users, view subscription and license details, and more-all from one place.
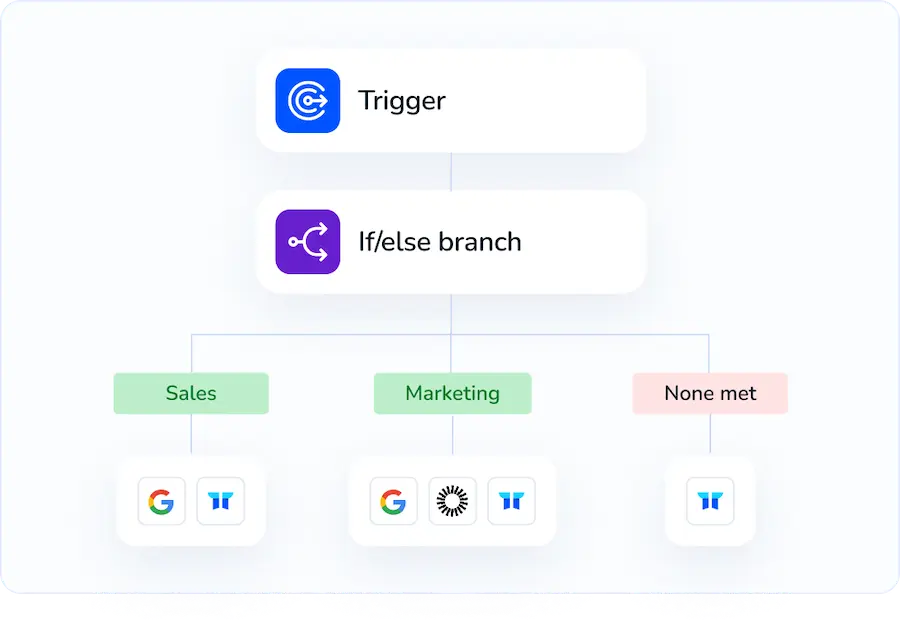
Unlike the manual process in OpenAI, Torii lets you fully automate this so the action runs whenever a defined trigger occurs. Triggers might include a new hire, an employee offboarding, or a contract renewal. If you perform this task repeatedly, automation can save time and reduce errors.
To add user to project in OpenAI directly from Torii, follow these steps:
1. Sign up for Torii
Contact Torii, and ask for your free two-week proof-of-concept.
2. Connect your OpenAI account to Torii
Once your account is active, connect OpenAI to Torii (assuming you already have an account). Here are the instructions for the OpenAI integration.

3. Create a Torii workflow for OpenAI
Within Torii, set up an automated workflow to add user to project in OpenAI. Go to the Workflows tab, define the trigger, and then configure the action that will add user to project in OpenAI. From that point on, whenever the trigger is met, OpenAI will be updated automatically.

Frequently Asked Questions
You have two main options to add teammates to OpenAI Projects: use the OpenAI Console to invite members and assign roles, or automate provisioning with Torii by connecting OpenAI, creating a workflow, and triggering user adds from your identity or HR events.
Use OpenAI's UI for quick, low-volume invites, sandbox setups, or when you need immediate manual control. Choose Torii for repeatable tasks, automated onboarding, offboarding, or to integrate with your identity and audit systems at scale.
Common roles include Admin/Manager (manage settings, keys, members), Developer (view keys, build with the project), and Viewer/Read-only (see settings and usage without editing). Start with least privilege and upgrade when additional access is required.
Open the project in the OpenAI Console, go to the Members or Access tab, select the user, and edit their role or choose Remove from project. Pending invites remain until accepted; workspace owners can revoke or approve domain-restricted invites.
Define minimal roles per job function, use Torii or your identity provider to automate role assignments based on HR or group attributes, and review permissions regularly. Automation reduces errors and enforces consistent least-privilege across many projects and users.
Track invites, role changes, and acceptances in your audit logs; Torii can centralize event history. Note that inviting someone adds them to your workspace, and workspace domain restrictions may require owner approval before external emails can accept invites.

