3 Ways to Monitor Spending in QuickBooks

Keeping close tabs on expenses in QuickBooks can stop surprises and free up cash for what matters. Whether you handle day-to-day entries or review monthly summaries, simple checks can reveal drains and opportunities.
This guide shows three practical ways to monitor spending: run expense reports, set up rules and budgets, and track vendor trends so you can spot patterns, tighten cash flow, and make smarter decisions.
Table of Contents
Use QuickBooks’s UI
Here you’ll use the QuickBooks Online UI to monitor spending by connecting accounts, categorizing transactions, creating budgets and rules, and running a few core reports.
Link your bank and credit card accounts
- Go to
Banking(orTransactions>Banking) in the left menu. - Click
Add accountorLink account, search for your bank, and follow the on-screen steps to connect. - After the connection finishes, check the
For Reviewtab and:- Select transactions to categorize or match to existing records.
- Use
Find matchfor downloaded items that match bills or payments. - Use
Addto create an expense if it’s new, orExcludefor duplicates.
Set up bank rules to speed categorization
- On the
Bankingpage, openRules(usually near the top). - Create a new rule and choose:
- Rule type (Money out), conditions (bank text, amount, or payee), and the category/account to assign.
- Whether the rule should auto-add or just suggest a category.
- Save the rule and monitor the
For Reviewtab for rule-applied transactions.
Reconcile accounts monthly
- Go to
Accounting>Reconcile. - Select the account, enter the statement ending date and balance from your bank statement, then click
Start reconciling. - Match transactions and mark them as cleared until your difference is zero, then
Finish now. - If the difference isn’t zero, use the
Undoor review unmatched items inFor Review.
Create a budget and check Budget vs. Actuals
- Click the
Gearicon and chooseBudgeting(create budget). If you don’t see it, check company settings for budgeting access. - Enter the budget year, name, and whether to split by customer, class, or location.
- After you create the budget:
- Go to
Reportsand runBudget vs. Actuals. - Use
Customizeto pick the budget, date range, and filters. - Save the customized report for repeated use.
- Go to
Use reports to watch spending patterns
- Open
Reportsand run these common ones:Expenses by Vendor Summary- shows totals per vendor.Transaction List by Vendor- lists each spending transaction by vendor.Profit and Loss- overall income and expense totals for a period.Profit and Loss by Classorby Location- if you use those categories.
- When customizing a report:
- Click
Customizeand adjust Date range, Rows/Columns, and Filters. - Filters you might use: Account, Vendor, Class, Location, Customer/Project.
- Save the custom report and choose
Set email scheduleto receive it regularly.
- Click
Track costs per job or department
- If you use
Projects, openProjectsin the left nav and select a project. - Review the
TransactionsorCoststab inside the project to see all related expenses. - If you don’t use Projects, use Classes or Locations:
- Turn them on in
Gear>Account and settings>Advanced>Categories. - Assign class/location to each transaction and run
Profit and Loss by Classorby Location.
- Turn them on in
Keep an eye on changes and exceptions
- Use the
Audit Log(Gear >Audit Log) to see who changed transactions and when. - Create saved report filters for unusual categories or high-value transactions and check them weekly.
- Set up report schedules so you get emailed summaries and catch surprises faster.
- Connect accounts and review
For Reviewdaily - Create at least one bank rule for common expenses
- Reconcile bank accounts each month
- Build a budget and subscribe to
Budget vs. Actuals - Save and schedule vendor and expense reports
Follow these UI steps regularly and you’ll spot spending trends, catch mistakes, and keep tighter control without extra tools.
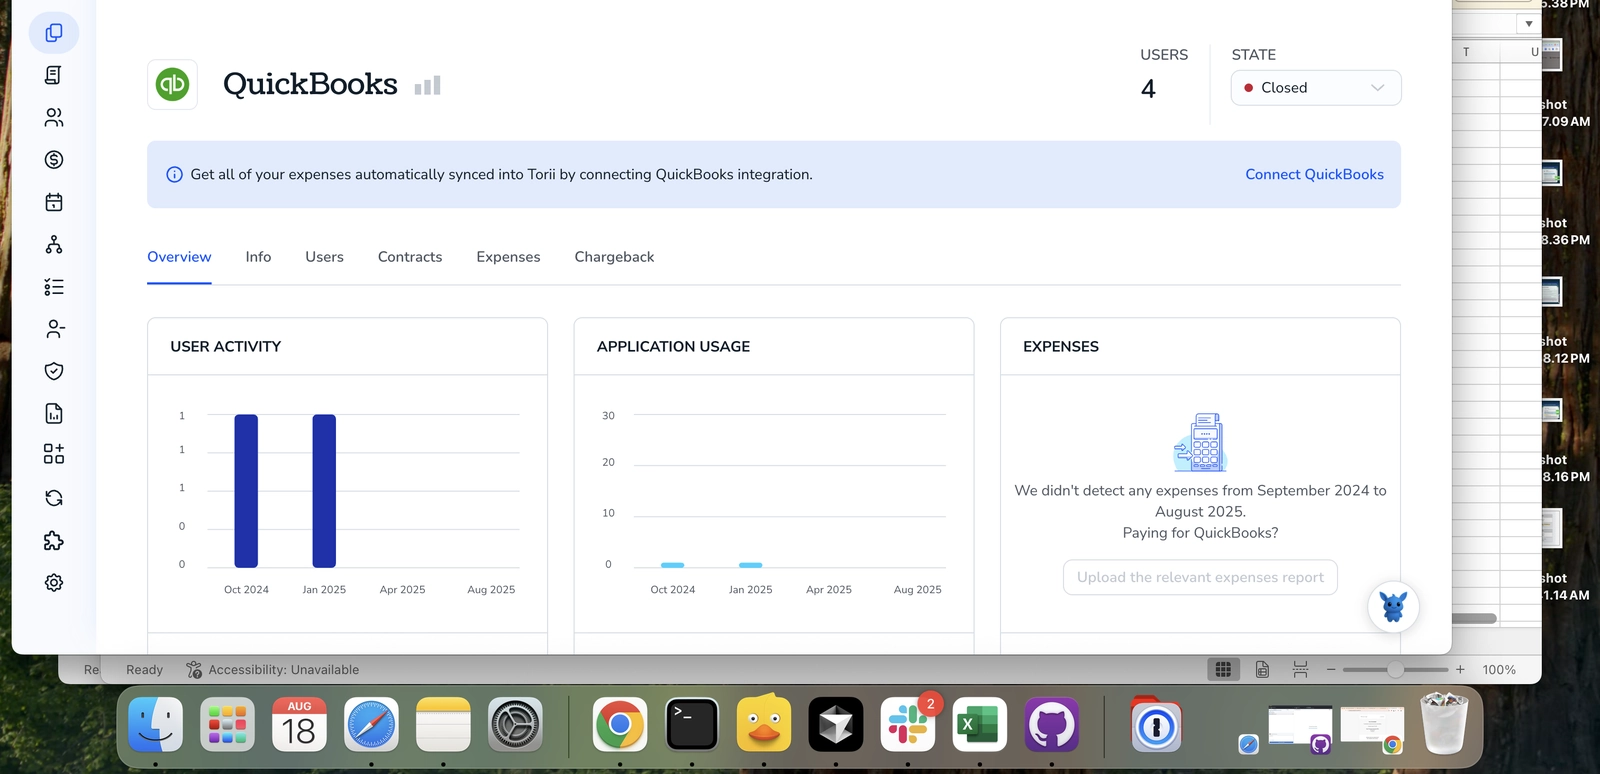
Use Torii
Rather than working inside QuickBooks alone, consider using Torii, a SaaS Management Platform, to track QuickBooks spend. SMPs let teams combine management of SaaS subscriptions and integrations in a single place, making it simple to programmatically onboard/offboard users, inspect subscription details, and more.
Instead of performing the QuickBooks steps by hand, Torii lets you automate the flow so the update occurs whenever a defined trigger fires. Triggers might include a new employee, someone leaving the company, a contract renewal, etc. Automating this saves time when the same action must be repeated often.
To view and manage QuickBooks spend from Torii, do the following:
1. Sign up for Torii
Contact Torii, and request a complimentary two-week proof-of-concept.
2. Connect your QuickBooks account to Torii
After your Torii account is set up, link your QuickBooks account (assuming you already have one). Here are the instructions for the QuickBooks integration.
3. Create a Torii workflow for QuickBooks
In Torii you can build automated workflows to keep an eye on QuickBooks spending. Go to the Workflows tab, define a trigger, then add an action that reads or updates QuickBooks. From that point on, whenever the trigger occurs, Torii will handle the QuickBooks update automatically.

Use QuickBooks’s API
Here’s how to monitor spending in QuickBooks using only the QuickBooks Online API. You’ll get totals with the Reports API and then pull transaction-level data with the Query API so you can track, alert, and drill down.
Prepare API access (OAuth 2.0)
You need an OAuth 2.0 access token and the realmId (company id) from QuickBooks’s OAuth flow. QuickBooks’s docs list the auth endpoints and required scopes; use the authorization code flow to get an authorization code, then exchange it for tokens.
Example token exchange (standalone line):
curl -X POST "https://oauth.platform.intuit.com/oauth2/v1/tokens/bearer" \
-u "CLIENT_ID:CLIENT_SECRET" \
-H "Accept: application/json" \
-D "grant_type=authorization_code&code=AUTH_CODE&redirect_uri=REDIRECT_URI"
Save the returned access_token, refresh_token, and the realmId from the OAuth redirect.
Quick reference: main endpoints the docs cover:
- There are three things to note:
- Reports API:
/v3/company/<realmId>/reports/<reportName> - Query API:
/v3/company/<realmId>/query?query=. - OAuth token endpoint:
https://oauth.platform.intuit.com/oauth2/v1/tokens/bearer
- Reports API:
Get quick totals with the Reports API
Use the Profit and Loss report to get total expenses for a date range. This is fast for a top-level check.
Example curl:
curl -X GET "https://quickbooks.api.intuit.com/v3/company/REALM_ID/reports/ProfitAndLoss?start_date=2025-01-01&end_date=2025-06-30" \
-H "Authorization: Bearer ACCESS_TOKEN" \
-H "Accept: application/json"
- Look in the JSON for the Expenses section or the totals rows. The response structure contains rows and columns; the docs explain the exact JSON fields to parse.
- Use this for periodic checks and dashboards where a single expense total is enough.
Pull detailed expense transactions with the Query API
For per-transaction monitoring, query expense-related entities. Typical targets are Bill, Purchase, Check, and CreditCardCharge. Also query Accounts to find expense account IDs if you want account-level filtering.
Example: list expense accounts:
curl -X GET "https://quickbooks.api.intuit.com/v3/company/REALM_ID/query?query=SELECT%20Id,%20Name%20FROM%20Account%20WHERE%20AccountType='Expense'" \
-H "Authorization: Bearer ACCESS_TOKEN" \
-H "Accept: application/json"
Example: get bills in a date range:
curl -X GET "https://quickbooks.api.intuit.com/v3/company/REALM_ID/query?query=SELECT%20TxnDate,TxnType,DocNumber,VendorRef,TotalAmt%20FROM%20Bill%20WHERE%20TxnDate%20>=%20'2025-01-01'%20AND%20TxnDate%20<=%20'2025-06-30'" \
-H "Authorization: Bearer ACCESS_TOKEN" \
-H "Accept: application/json"
- Repeat similar queries for
Purchase,Check, andCreditCardChargeto capture all spending types. - If you want to filter by expense account, first collect expense account IDs from the Account query, then filter transaction lines that reference those account IDs. The Query API supports selecting fields you can use to join client-side.
Get aggregated sums via Query (for programmatic thresholds)
You can use SQL-style aggregates to get sums from a transaction type, then combine sums across types.
Example sum for bills:
curl -X GET "https://quickbooks.api.intuit.com/v3/company/REALM_ID/query?query=SELECT%20SUM(TotalAmt)%20FROM%20Bill%20WHERE%20TxnDate%20>=%20'2025-01-01'%20AND%20TxnDate%20<=%20'2025-06-30'" \
-H "Authorization: Bearer ACCESS_TOKEN" \
-H "Accept: application/json"
Run the same for other transaction types and add totals client-side. This is useful for alerting if spend exceeds a threshold.
Pagination, rate limits, and token refresh
- Query results may require pagination. Use the Query endpoint’s
startpositionor the response tokens the docs describe to page through large results. - If you get 401, use the refresh token grant:
curl -X POST "https://oauth.platform.intuit.com/oauth2/v1/tokens/bearer" \
-u "CLIENT_ID:CLIENT_SECRET" \
-H "Accept: application/json" \
-D "grant_type=refresh_token&refresh_token=REFRESH_TOKEN"
Watch for 429 rate-limit responses and back off; the docs show rate-limit headers and recommended retry behavior.
Practical monitoring pattern
- Once authenticated, schedule two API pulls:
- Daily or hourly Reports API call (ProfitAndLoss) for a quick expense total.
- Nightly Query API runs that pull Bills/Purchases/Checks/CreditCardCharges, aggregate by vendor, account, or category, and store results in your system.
- Compare current totals to budgets or thresholds and trigger alerts when thresholds are crossed. Use transaction-level queries to link alerts back to line items for review.
Common pitfalls
- Dates must match QuickBooks format (YYYY-MM-DD). Time zones matter when you compare timestamps.
- Different transaction types record expenses different ways. Combine multiple entity queries to avoid gaps.
- Parse report JSON carefully-reports use nested rows and columns, not a flat list.
QuickBooks’s API docs cover the exact JSON fields, supported query syntax, report names and parameters, and OAuth details you’ll need to implement these steps.
Frequently Asked Questions
You can track expenses three ways: use QuickBooks Online's built-in reports, rules, budgets and reconciliations; connect QuickBooks to Torii to automate SaaS spend oversight; or call the QuickBooks Online API to pull real-time totals and transaction details. Choose whichever suits your workflow.
Run Expense by Vendor Summary, Transaction List by Vendor, Budget vs. Actuals, Profit and Loss, and Profit and Loss by Class or Location. Customise date ranges, filters, and email schedules to surface high-cost vendors, overspending categories, or departments exceeding budget.
Bank rules automatically categorize or add transactions that match specific text, amounts, or payees. After linking your accounts, create rules on the Banking page, decide whether they auto-add or just suggest, then review the For Review tab to confirm accurate coding.
Torii consolidates SaaS subscriptions, so connecting QuickBooks lets you see licence counts, renewal dates, and costs beside other apps. You can trigger workflows when employees join, leave, or contracts renew, automatically updating QuickBooks and flagging anomalies without living inside the accounting dashboard.
Authenticate with OAuth 2.0 to obtain an access token and realm ID, then call /reports/ProfitAndLoss for top-level totals or use SQL-style queries like SELECT SUM(TotalAmt) FROM Bill to fetch detailed or aggregated expenses. Paginate large results and refresh tokens on 401 responses.
Reconcile every month: select the account, enter statement ending balance and date, match cleared items until the difference reaches zero, then finish. If discrepancies remain, undo the attempt, investigate unmatched downloads in For Review, correct duplicates or coding errors, and rerun reconciliation.
