2 Ways to Monitor Spending in Okta

If you’re managing Okta for a growing organization, keeping an eye on spending and usage can feel overwhelming. IT teams need clear methods to link cost drivers like licenses, apps, and API calls to actual bills and active users.
This article shows two practical ways to monitor those costs inside Okta and nearby tools, so you can spot trends, control spend, and report to stakeholders with confidence.
Table of Contents
Use Okta’s UI
Here, you’ll use the Okta Admin Console to find billing, invoices, and usage details so you can track spending inside the Okta UI.
Open the Admin Console
- From your Okta dashboard, click
Adminto open the Admin Console. - If you manage multiple orgs, pick the correct org from the org selector at the top.
Go to Billing in the Admin Console
- In the Admin Console, open
Settingsand look forBillingorAccount->Billing. - There are two things to note:
- Some Okta layouts show
Billingdirectly underSettings; older consoles might nest it underAccount. - If you don’t see billing pages, you likely need billing permissions or a super admin to grant access.
- Okta’s documentation covers these Billing pages and what each section shows.
- Some Okta layouts show
Review invoices and payment methods
- On the Billing page find
InvoicesorInvoice History. - Actions you can take from here:
- View invoice details by clicking an invoice.
- Download the invoice as a PDF.
- Export invoice lists when available.
- To update payment info or billing address, open
Payment MethodsorManage Paymentand edit the saved method. - To change who gets invoices, edit
Billing contactsand add or update email addresses.
Check usage and MAU (Monthly Active Users)
- On the Billing page look for a
UsageorMonthly Active Userssection. - What you can do:
- Select the billing cycle or date range to see the current period.
- View current MAU, historical trends, and peak usage.
- Download usage data as a CSV when that option appears.
- Use the usage view to compare actual MAU to your license counts and spot spikes that increase cost.
Review subscriptions, add-ons, and upcoming charges
- The Billing page also shows active subscriptions, seat counts, add-ons, and renewal dates.
- Actions to check:
- Confirm active plans and their seat totals.
- Look for listed add-ons or extras that affect billing.
- Check the next invoice estimate or upcoming charges shown in the UI.
- If you need a cost estimate, change seat counts or remove add-ons in the UI to see updated estimates where provided.
Export reports and enable notifications
- Use
DownloadorExportbuttons on invoice and usage screens to save CSVs or PDFs. - To get invoices by email, enable invoice delivery under
Billing contactsand set the appropriate addresses. - Schedule monthly exports or downloads so you have records for finance checks.
Regular checks and practical tips
- Check billing and usage at least once a month: download the invoice, download usage, and compare them.
- Keep billing contacts current and set a recurring reminder to review the Billing page after each billing cycle.
- If the Admin Console layout looks different, consult Okta’s Billing and Subscriptions docs inside the Okta Help center for the exact UI for your org.
Use Torii
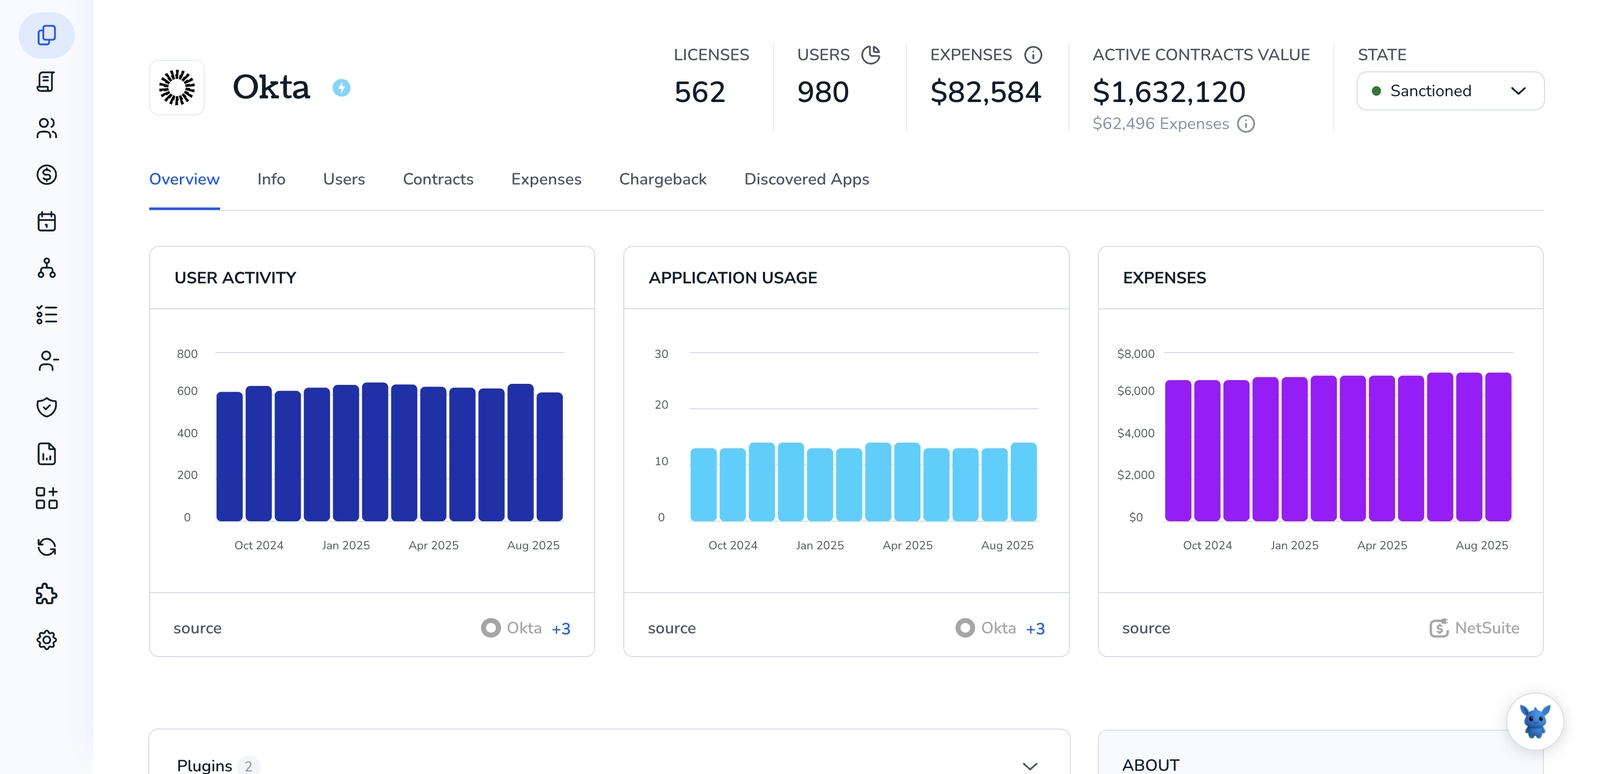
Instead of handling spending checks inside Okta itself, consider using Torii, a SaaS Management Platform, to keep an eye on your Okta costs. SMPs let organizations centralize SaaS subscriptions and integrations, simplify programmatic user on/offboarding, view subscription details, and more.
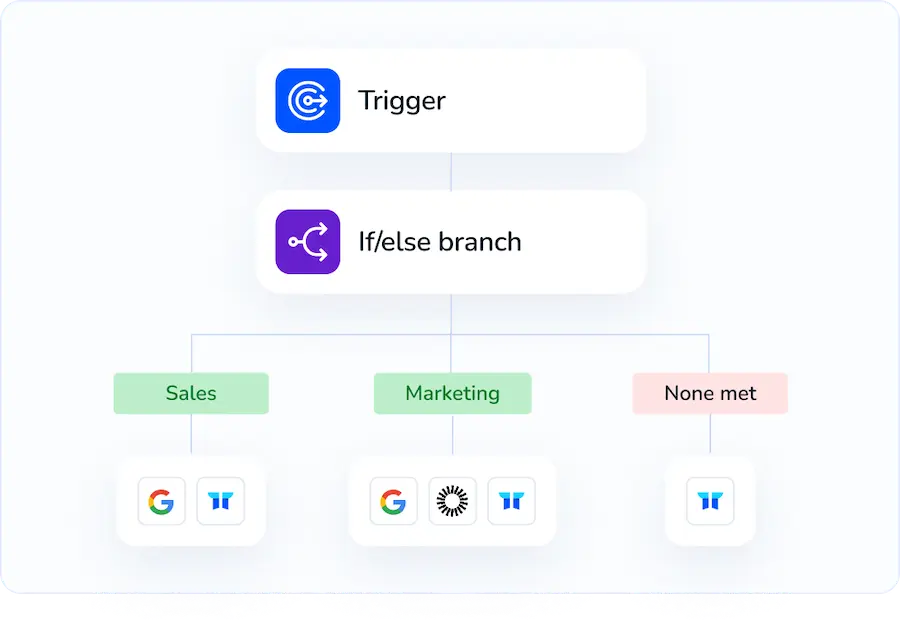
Rather than performing this step manually in Okta, Torii lets you automate it so the activity runs whenever a defined trigger occurs. Triggers might include a new hire, an employee departure, a contract renewal, or other events - which can save time if this task needs to recur often.
To track Okta spend from within Torii, do the following:
1. Sign up for Torii
Contact Torii, and ask for your free two-week proof-of-concept.
2. Connect your Okta account to Torii
After your Torii account is active, link your Okta instance to Torii (assuming you already maintain an Okta account). Here are the instructions for the Okta integration.

3. Create a Torii workflow for Okta
In Torii you can build automated workflows to monitor spending in Okta. Go to the Workflows tab, define a trigger, and add an action that captures or adjusts Okta spending data. Once configured, the workflow will run automatically whenever the trigger conditions are met.

Frequently Asked Questions
Open the Okta Admin Console, navigate to Settings › Billing to review invoices, usage, subscriptions, and export reports, or connect Okta to Torii and build a workflow that captures spend data automatically whenever defined triggers, like new hires or renewals, occur.
In the Admin Console, go to Settings › Billing and select Invoices or Invoice History. Click an invoice to view details, download it as a PDF, or export the invoice list for finance reconciliation.
Under Billing, open the Usage or Monthly Active Users tab, choose a date range, and compare current MAU against license counts. Spot spikes, download CSV data, and adjust seat totals before unexpected charges hit your next invoice.
Okta lets you export invoice PDFs and CSVs, historical usage data, and subscription details directly from Billing screens. Scheduling monthly downloads ensures your finance team always has accurate cost and consumption records.
Torii connects to Okta via an integration, then uses triggers—such as new hires, departures, or contract renewals—to run workflows that capture spend metrics, automate reporting, and surface anomalies without manual checks inside Okta.
Only admins granted billing permissions, typically Super Admins or delegated roles with Billing access, can view Billing pages. If sections are missing, request access from a Super Admin or update your admin role settings.

