2 Ways to Assign Users to Groups in Twingate

Keeping track of who can reach which resource can swallow an admin’s day. Twingate cuts the sprawl, yet you still need a quick way to slot people into the right groups so permissions stay clean.
Below, we break down two straight-ahead methods, manual assignment and automated group mapping. Choose the approach that matches your workflow, hold least-privilege lines, and spend less time babysitting access.
Table of Contents
Use Twingate’s UI
You’ll use the Twingate Admin Console to add a user to an existing group.
1. Sign in
Open the Admin Console in your browser and sign in with your admin credentials; this step confirms you have permission to manage groups.
2. Open Groups
- In the left sidebar, simply click
Team, then chooseGroups. The option sits near the top of the menu, so you should find it quickly. - A complete list of every group in the tenant appears, letting you confirm you’re about to edit the correct one.
3. Pick the group
- Select the specific group that needs one more member to gain access. Double-check the name if several groups share similar labels.
- The page automatically lands on the
Memberstab, which lists everyone already assigned, giving you a quick snapshot of current access.
4. Add members
- Click
Add Membersin the upper-right corner of theMemberslist, then wait for the panel to open. This button is only visible to admins. - A responsive search box slides out on the right side of the screen, ready for you to look up users.
5. Search for the user
- Begin entering the user’s name or email address in the search field, and Twingate filters results in real time so you see matches immediately.
- Click each account you want to include; the selected names appear as chips below the search box, which makes it easy to review your choices.
6. Confirm the addition
- Select
Add(orAdd Members, depending on the console version) to save the change and close the panel. The action finalizes the new membership. - The Members list refreshes within a few seconds, and the added user now shows up with the rest of the group.
7. Spot-check access
Changes take effect right away; if the user still can’t reach their new resources, ask them to reconnect the Twingate client to pull the updated policy.
Group membership is now updated, and there’s nothing else you need to do.
Use Torii
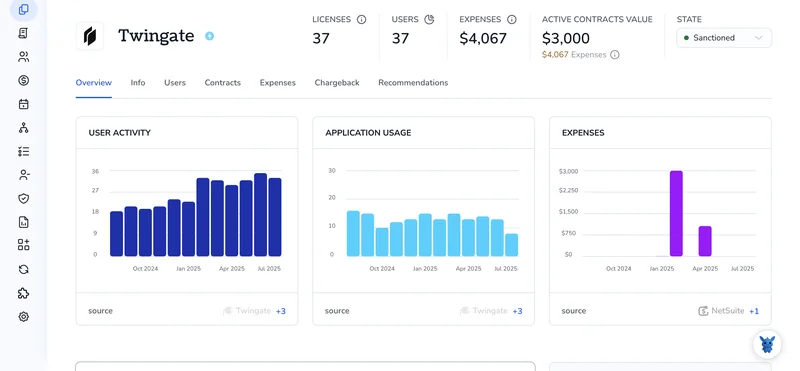
Instead of working in Twingate itself, you can rely on Torii, a SaaS Management Platform, to place a user into a Twingate group. SMPs give organizations a central dashboard for all their SaaS products, making it simple to automate onboarding/offboarding, view license details, and more.
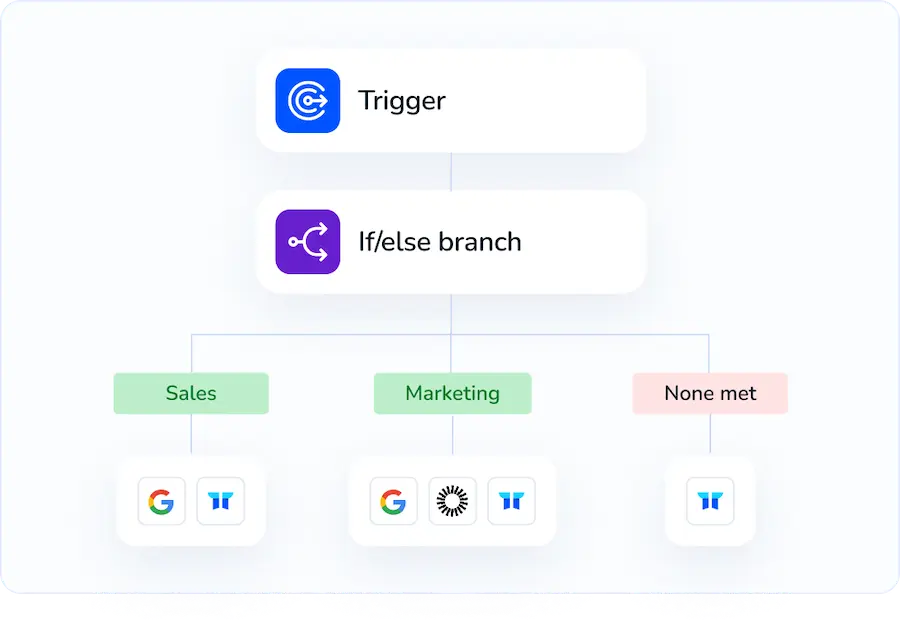
While Twingate normally calls for a manual update, Torii can handle the change for you whenever a chosen event happens, such as a new hire, a departure, or a contract renewal. Automating this recurring task saves significant time.
To add a user to a Twingate group through Torii, follow these instructions:
1. Sign up for Torii
Contact Torii and ask for a free two-week proof-of-concept.
2. Connect your Twingate account to Torii
Once your Torii account is active, link it to your existing Twingate environment. Detailed guidance is available in the Twingate integration instructions.

3. Create a Torii workflow for Twingate
Inside Torii, open the Workflows tab, choose a trigger, and add the action that assigns the user to the proper group in Twingate. Once saved, Twingate will be updated automatically every time the trigger is met.

Torii for SaaS Management
Looking to finally sharpen your SaaS management strategy for better control? Torii’s SaaS Management Platform lets you:
- Uncover shadow IT: AI monitors your stack for unsanctioned apps without getting in the way.
- Trim expenses: Cut duplicate tools and unused licenses to keep budgets in check.
- Automate onboarding/offboarding: Remove manual clicks and errors by wiring employee lifecycle tasks into workflows.
- Stay ahead of renewals: Smart reminders surface contract dates before they sneak up.
Torii is the first unified SaaS Management Platform, offering a single source of truth for Finance, IT, and Security teams.
Discover additional resources and a live demo by visiting Torii.
Frequently Asked Questions
Sign into the Twingate Admin Console, open Team > Groups, select the right group, click "Add Members," search the user’s name or email, choose the account, hit "Add," then ask the user to reconnect the client to refresh permissions.
Torii links to your Twingate tenant and triggers group updates whenever an event—like a new hire or role change—occurs. This hands‑free automation removes repetitive console clicks, keeps least‑privilege policies intact, and frees admins for higher‑value work.
Yes. By building a Torii workflow you can set triggers such as employee start, department change, or exit dates and automatically add or remove the user from selected Twingate groups, eliminating manual steps and preventing lingering or orphaned access.
Least‑privilege means people receive only the permissions required to perform their jobs. Enforcing it in Twingate reduces attack surface, minimizes blast radius if credentials leak, and makes audits simpler because every entitlement maps cleanly back to a justified business need.
Yes. Once you click "Add" in the Admin Console, the new membership propagates within seconds. The user may need to reconnect the Twingate client to pull the updated policy, but no additional admin action is required.
Torii continuously scans SaaS usage, compares it to your approved catalog, and flags unsanctioned apps in real time. This visibility lets IT shut down rogue tools, consolidate overlapping licenses, and protect data that might otherwise bypass security controls.

