3 Ways to Invite Users to Your SendGrid Account in 2026

Bringing new people into your SendGrid account shouldn’t feel like a puzzle. When everyone has the right permissions from the start, projects move faster and mistakes drop.
This guide walks you through three simple ways to grant access: sending role-based invites inside the dashboard, sharing a reusable link, or automating invites with the SendGrid API.
Table of Contents
Use SendGrid’s UI
Here, you’ll use the SendGrid dashboard to invite a teammate to your account.
Step 1. Open the Teammates page
- Sign in to SendGrid.
- In the left sidebar, click Settings.
- Select Teammates. Your existing users appear.
Step 2. Start a new invite
- Click the Add Teammate button.
- A side panel opens with the invite form.
Step 3. Enter the email address
- Type the teammate’s work email in the Email field.
- Double-check spelling; SendGrid sends what you enter.
Step 4. Pick a role
Choose what the new user can do:
- Administrator: full control
- Manager: send email, view reports, no billing
- Marketing: access to Marketing Campaigns only
- Billing: invoices and payment details
- Read-Only: view everything, change nothing
Need something more specific? Switch to Custom and toggle individual permissions.
Step 5. Send the invite
- Click Invite Teammate.
- The user appears in the list with a Pending badge.
Step 6. Manage pending invites (optional)
- To resend, open the action menu next to the pending user and choose Resend.
- To cancel, choose Delete.
Once the teammate accepts the email invitation and sets a password, their status changes to Active and they can sign in with the role you assigned.
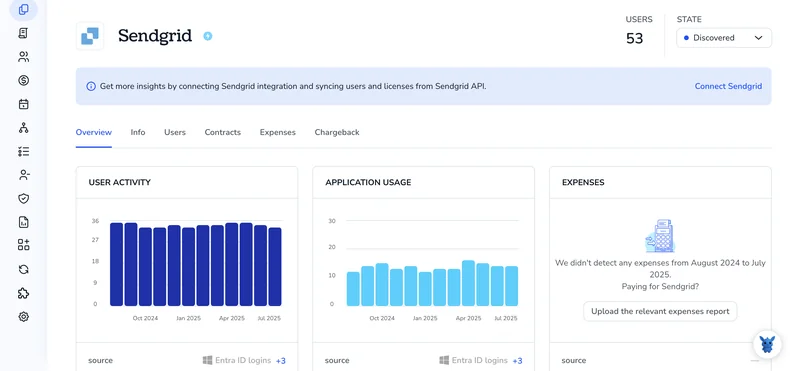
Use Torii
Instead of handling SendGrid invitations by hand, use Torii, a SaaS management platform, to add users automatically. SMPs provide a central dashboard for every SaaS contract and integration, so it’s easier to manage onboarding, renewals, and costs.
Moving the task to Torii puts the process on autopilot. When a chosen trigger fires, such as a new hire, a departure, or a renewal date, Torii sends the invitation with no manual click. These small repetitive tasks pile up quickly, so the automation frees a noticeable chunk of time.
To add someone to SendGrid through Torii, follow these steps:
1. Sign up for Torii
Contact Torii, and ask for your free two-week proof-of-concept.
2. Connect your SendGrid account to Torii
After your Torii environment is active, link your existing SendGrid account to it. Here are the instructions for the SendGrid integration.
3. Create a Torii workflow for SendGrid
Inside Torii, build an automated workflow to add a user to SendGrid. Navigate to the Workflows tab, choose your trigger, and define the action that creates the SendGrid invitation. From that point forward, every time the trigger is satisfied, SendGrid updates automatically.

Use SendGrid’s API
You’ll send an invitation to a teammate with one POST call to SendGrid’s Teammates endpoint. No dashboard clicks needed.
1. Grab an API key that can manage teammates
- The key must carry the
teammates.writepermission (or be full-access). - Keep it handy; you’ll pass it in the
Authorizationheader.
2. Build the JSON body
Decide who you’re inviting, what they can do, and if they should be an admin. Use that information to populate the JSON body that travels with your POST request to SendGrid’s servers.
{
    "email": "[email protected]",
    "scopes": ["mail.send", "alerts.create"],
    "is_admin": false
}
Notes:
emailis required.- Use
is_admin: trueonly when the new user needs every permission. - List any fine-grained scopes the user should get. Skip the field if you’re making them an admin.
3. Send the invitation
curl --request POST \
--url https://api.sendgrid.com/v3/teammates/invitations \
--header "Authorization: Bearer YOUR_SENDGRID_API_KEY" \
--header "Content-Type: application/json" \
--data @invite.json
The response should return 202 Accepted. That means the email invite is on its way.
4. Confirm it worked
Check for any pending invitations with a quick GET request:
curl --request GET \
--url https://api.sendgrid.com/v3/teammates/invitations \
--header "Authorization: Bearer YOUR_SENDGRID_API_KEY"
Look for the email you just sent. If it isn’t there, double-check the address and try again.
5. Clean up old or wrong invites (optional)
If you need to cancel an invite, grab its id from the list above, then:
curl --request DELETE \
--url https://api.sendgrid.com/v3/teammates/invitations/INVITE_ID \
--header "Authorization: Bearer YOUR_SENDGRID_API_KEY"
A 204 No Content response means the invite is gone.
That’s it. Your teammate joins after they click the link in their email.
Torii for SaaS Management
Looking to raise the bar on how you manage SaaS across the company? We’d love to help. With Torii’s SaaS Management Platform, you can:
- Uncover shadow apps: AI-driven discovery scans the entire workspace for unsanctioned software and keeps monitoring around the clock.
- Reduce spending: Spot unused licenses and redundant tools, then retire them before they drain your budget.
- Automate onboarding and offboarding: Hand off routine user provisioning and deprovisioning to workflows that cut manual effort and errors.
- Never miss a renewal: Get advance reminders so every contract is reviewed in time.
Torii brings Finance, IT, and Security together with a single, end-to-end view of every SaaS product in use.
Find out more at Torii.
Frequently Asked Questions
You have three ways to add teammates to your SendGrid account: open the Teammates page and send a role-based invite, share a reusable invitation link, or call the /v3/teammates/invitations API. Choose the option that best fits your team’s workflow.
SendGrid provides five preset roles: "Administrator" for full control, "Manager" for sending and reporting, "Marketing" for Campaigns only, "Billing" for invoices, and "Read-Only" for view-only access. You can also pick "Custom" and toggle individual permissions.
Yes. After integrating SendGrid with Torii, build a workflow that triggers on events such as new hires or renewals. Torii automatically fires the action to create a SendGrid invitation, eliminating manual clicks and ensuring every user is provisioned consistently.
Use a POST request to the endpoint /v3/teammates/invitations. Include a JSON body with the teammate’s email, any scope array, and the optional "is_admin" flag. A successful call returns 202 Accepted, meaning the email invitation is on its way.
Inside the dashboard, locate the pending invite, open its action menu, then choose "Resend" to send a new email or "Delete" to cancel it. Through the API, send a DELETE to /v3/teammates/invitations/INVITE_ID to revoke the invitation.
The key must include the "teammates.write" permission or be a full-access key. Without that scope, SendGrid will reject any attempt to create, view, or delete user invitations through the API.
