3 Ways to Invite Guests to Your ClickUp Workspace in 2026
Learn three easy methods to invite guests to your ClickUp workspace and manage external collaboration securely with permissions
Ask about this article
Opens Claude in a new tab to answer, using this article as the source.
Inviting clients, contractors, or vendors into your ClickUp workspace shouldn’t feel risky or time-consuming. When permissions and roles are set up right, you can share just the pieces they need and keep everything else private.
Below you’ll find three quick ways to add guests, each suited to a different collaboration scenario. Pick the method that matches your workflow and follow the steps to grant access without opening the doors too wide.
Table of Contents
Use ClickUp’s UI
Here, you’ll use ClickUp’s UI to invite guests to your workspace.
Step 1: Open the People panel
- Open any ClickUp view and focus on the bottom-left corner.
- Select your workspace avatar or name, then click “People” to open the side panel.
Step 2: Start a new invite
- Tap the purple Invite button located in the top-right corner.
- In the pop-up window, switch to the Guest tab before adding details.
Step 3: Enter the guest’s email
- Enter one or several email addresses, each belonging to a person you’re inviting. Separate multiple addresses with commas.
- Decide if you want to flip on “Skip onboarding” to keep ClickUp’s intro email out of their inbox.
Step 4: Set the permission level
- View only: guest can read everything you share.
- Comment: guest can read and leave comments or add attachments.
- Edit: guest can change tasks. Pick the level that fits, then move on.
Step 5: Pick what they can see
- Click Add next to each Space, Folder, List, or Task you want them to access.
- Keep the list tight so they only see what’s relevant.
Step 6: Send the invite
- When everything looks correct, hit the Send Invite button to dispatch the email.
- The guest shows up as “Pending” until they click the email link and log in.
Step 7: Tweak or remove access later
- Back in the People panel, click the three dots next to a guest’s name.
- Change permissions, share new items, or deactivate them if the project wraps up.
Use Torii
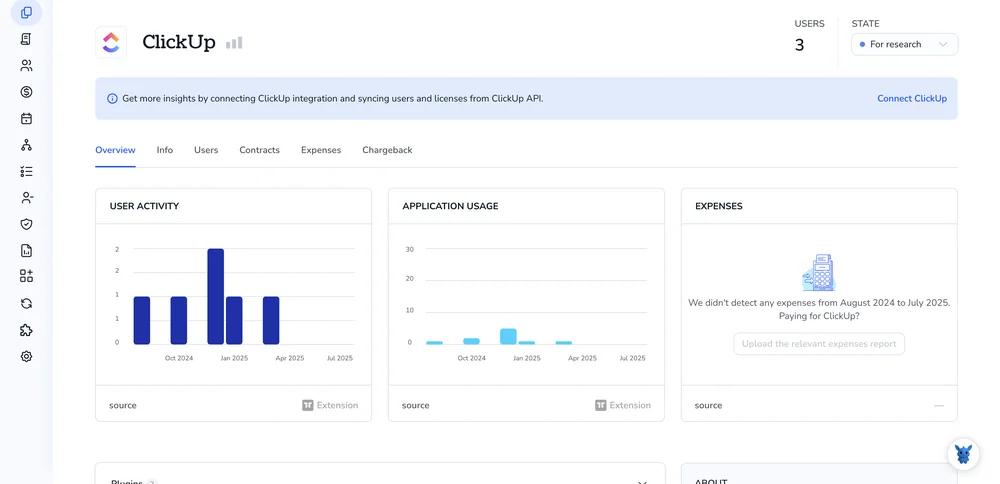
Instead of clicking around in ClickUp, let Torii, a SaaS management platform, handle guest invites for you. Torii gathers all your SaaS tools in one dashboard so you can add or remove users, review subscription data, and more.
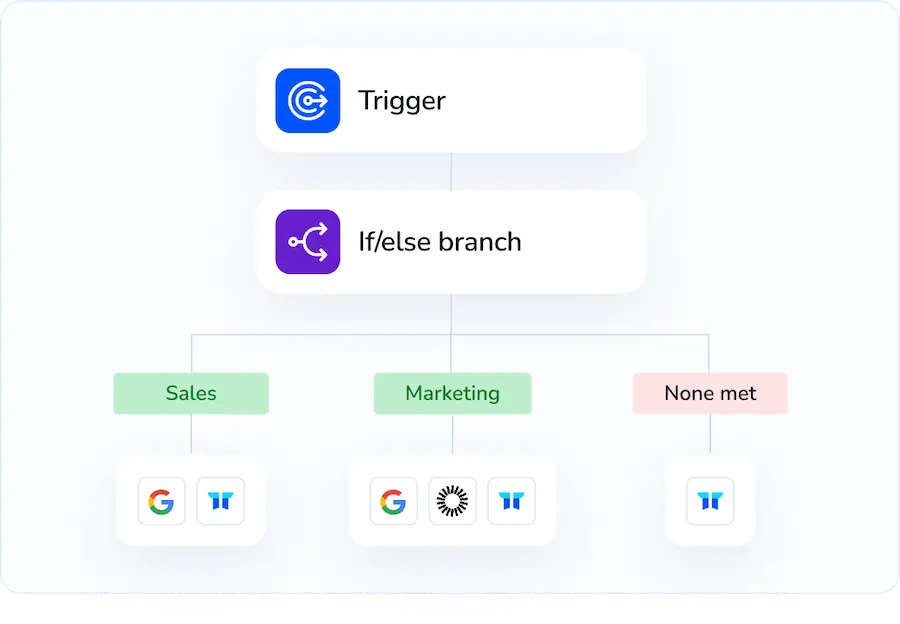
Once Torii takes over, the process runs itself: every time a trigger fires, the system sends the invite. Typical triggers cover new-hire onboarding, employee departures, or a coming contract renewal. The setup suits recurring tasks perfectly.
To invite a guest to a ClickUp workspace directly from Torii, follow these steps in sequence.
1. Sign up for Torii
Contact Torii and request a free two-week proof of concept.
2. Connect your ClickUp account to Torii
When your Torii environment is live, link your existing ClickUp workspace to it. Follow these ClickUp integration instructions.
3. Create a Torii workflow for ClickUp
In Torii’s Workflows section, set up a trigger and add an action that invites the guest to the ClickUp workspace. From then on, every time the trigger fires, the invitation goes out automatically.
Use ClickUp’s API
You’ll send a simple POST request that tells ClickUp to email an invite and add the person as a guest in your workspace.
1. Collect the Workspace (Team) ID
- Send
GET https://api.clickup.com/api/v2/teamwith your personal API token in theAuthorizationheader. - Copy the
idvalue for the workspace you want. You’ll need it in every call below.
2. Decide the guest’s permissions
ClickUp’s API lets you fine-tune what a guest can do. In the body of the invite you can include a permissions object such as:
"permissions": {
    "can_edit_tasks": false,
    "can_create_views": false,
    "can_see_time_spent": true
}
Skip the field if you’re happy with ClickUp’s default read-only access.
3. Invite the guest
Now send the POST request that creates the invite and sets permissions:
POST https://api.clickup.com/api/v2/team/{team_id}/guest
Headers:
Authorization: YOUR_CLICKUP_TOKEN
Content-Type: application/json
Body:
{
    "email": "guest@example.com",
    "permissions": {
        "can_edit_tasks": false,
        "can_create_views": false,
        "can_see_time_spent": true
    }
}
ClickUp emails the invite right away and responds with the guest’s id, current status (usually pending), and the permissions you set.
4. Check the invite status
Guests sometimes overlook the email invite, so you can verify whether they’ve accepted:
GET https://api.clickup.com/api/v2/team/{team_id}/guest/{guest_id}
Headers:
Authorization: YOUR_CLICKUP_TOKEN
If the status field returns active, they’re in. Anything else means the invite is still waiting.
5. Resend or remove as needed
Resend:
POST https://api.clickup.com/api/v2/team/{team_id}/guest/{guest_id}/resend
Headers:
Authorization: YOUR_CLICKUP_TOKEN
Remove:
DELETE https://api.clickup.com/api/v2/team/{team_id}/guest/{guest_id}
Headers:
Authorization: YOUR_CLICKUP_TOKEN
These steps let you bring guests into your workspace with nothing but API calls.
Torii for SaaS Management
Managing a growing stack of SaaS tools can drain time and budget?
Torii’s SaaS Management Platform brings every app, license, and contract into one place so you can act with certainty:
- Find hidden apps: AI-driven discovery spots shadow IT across every department, giving you a live, always-up-to-date inventory of apps.
- Cut costs: Stop paying for tools no one uses by reclaiming idle licenses, then roll overlapping apps into one clear, verified stack that finance can track.
- Implement on/offboarding automation: Automated provisioning and deprovisioning moves accounts in minutes, slashes manual work, and closes risky gaps that appear when staff changes.
- Get contract renewal alerts: Built-in reminders surface upcoming renewals well before deadlines, giving teams time to negotiate better terms instead of scrambling at the last minute.
Torii is the industry’s first unified SaaS Management Platform, delivering a single source of truth for Finance, IT, and Security teams.
Visit Torii today to see the full platform in action for yourself and explore every feature.
Frequently Asked Questions
You can invite guests in three ways: use ClickUp’s UI, send a POST call to ClickUp’s API, or build an automated workflow in Torii. Each option emails the person a link and lets you pick permissions before hitting send.
ClickUp supports View Only, Comment, and Edit roles in the UI; with the API you can toggle granular flags like can_edit_tasks or can_see_time_spent. Pick the level that matches the project so guests see and do only what you allow.
Yes. After connecting ClickUp to Torii, you can build a workflow that fires on events like new-hire onboarding or contract renewals. When the trigger fires, Torii automatically sends the ClickUp guest invite and logs the action in one dashboard.
In the People panel, click Add next to each Space, Folder, List, or Task you want the guest to see. Share only the items you select; everything else stays hidden. You can adjust or remove those shares anytime from the same menu.
Use ClickUp’s API. GET the guest ID, then POST /resend to send the email again or DELETE /guest/{guest_id} to revoke access. Both calls need your team ID, personal API token, and the appropriate endpoint in the Authorization header.
Torii centralizes every SaaS license, discovers shadow IT, automates onboarding and offboarding, and flags upcoming renewals. By unifying finance, IT, and security data, it slashes unused spend and closes access gaps while keeping your app inventory always current.