3 Ways to Add Users to BrowserStack

Trying to get new teammates into BrowserStack can feel like one more item on your already full QA checklist. You just want them to jump into tests, but permission settings and seats get confusing fast.
Good news: there are only a few simple ways to add users, each built for a different situation. We’ll break down three methods so you can pick one and keep shipping well-tested code.
Table of Contents
Use Browserstack’s UI
Here, you’ll use BrowserStack’s UI to add new teammates to your account.
1. Open User Management
- Sign in to your BrowserStack dashboard using the same work credentials you use every day to access other tools.
- Click the profile avatar that sits in the screen’s upper right corner to open your account menu.
- Open the drop-down menu and choose “User Management”; BrowserStack then loads the full “Users & Groups” management page.
2. Start an invite
- Select the blue “Add Users” button to launch the invitation panel that slides in from the right.
- A side panel opens immediately and waits for the information you’ll enter, so you can keep working quickly.
3. Enter the basics
- Enter one or more colleague email addresses in the field provided, separating them with commas for bulk adds.
- Adding names is optional because BrowserStack prompts each new user for that detail after they accept the invite.
4. Pick a role
- Choose “Admin” when the person will handle billing, settings, or user management, giving them full control of the workspace.
- Leave the role at “User” for teammates who just need testing access and should not touch administrative settings.
5. Set product access
- Switch on access for Live, Automate, App Live, and any other products included in your plan to match their duties.
- Leave unneeded tools off so you don’t consume extra parallel sessions that could block other test runs.
6. Review and send
- Take a final look to confirm each setting is correct and every email address is spelled as intended.
- Click “Send Invitation”; BrowserStack immediately emails each recipient a personal join link that expires after a few days.
- The new user’s status stays “Pending” until they accept the invite from the message in their inbox.
You can watch the invite list from the same User Management screen. Need to nudge someone? Use the “Resend” option next to their name.
Use Torii
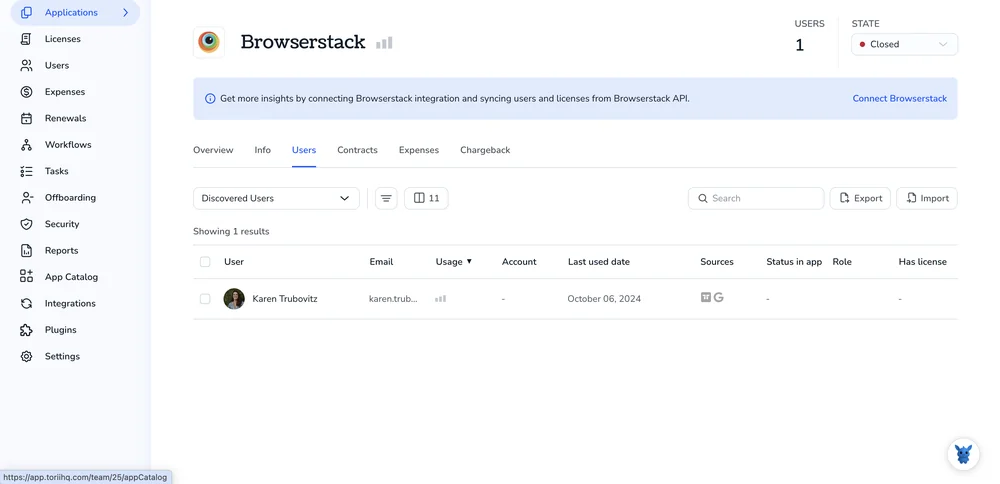
Rather than adding people to Browserstack manually, use Torii, a SaaS management platform, to handle the job. A tool like Torii acts as a central hub for all your cloud apps, so you can automate onboarding and offboarding, keep an eye on subscriptions, and handle many other admin tasks.
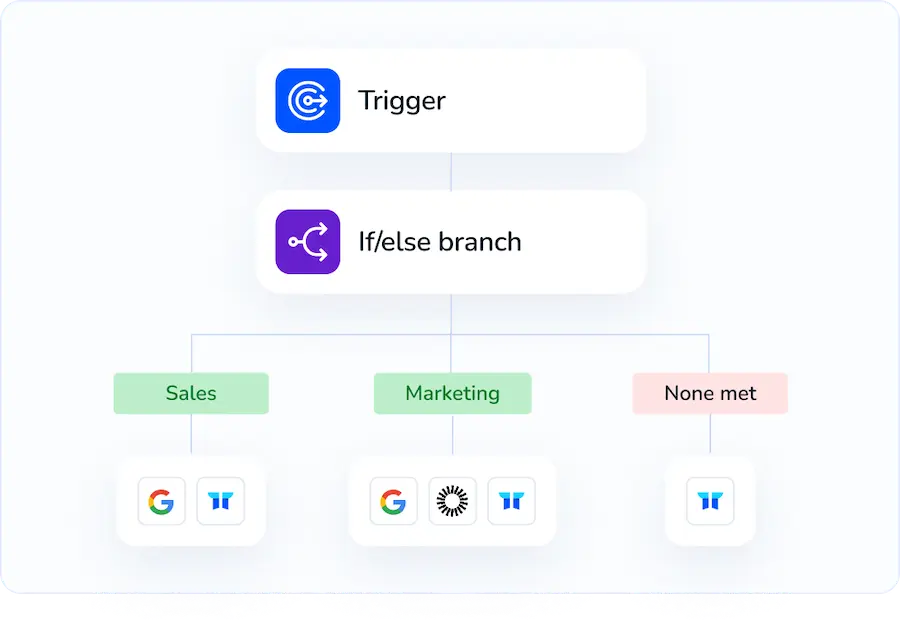
Once Torii takes over, the process runs automatically, kicking in whenever a defined trigger fires. A trigger could be a new hire’s first day, an employee departure, or an upcoming contract renewal. This type of automation trims a lot of repetitive work.
To set up a user in Browserstack directly from Torii, follow these steps:
1. Sign up for Torii
Reach out to Torii and request a complimentary two-week proof-of-concept.
2. Connect your Browserstack account to Torii
After your Torii workspace is active, link your existing Browserstack account to Torii. Here are the instructions for the Browserstack integration.

3. Create a Torii workflow for Browserstack
Open the Workflows tab in Torii, define the trigger, and add the action that creates a user in Browserstack. From then on, whenever the trigger conditions are met, Browserstack will be updated automatically.

Use Browserstack’s API
Manually inviting every new teammate takes more clicks than it should. Skip those steps by sending one well-formed POST request and let BrowserStack handle the rest automatically.
1. Collect your API credentials
- Username: the credential you already use to sign in.
- Access key: find it under Account → Settings → Access Keys.
Include both pieces in the HTTP request’s basic authentication header.
2. Point to the right endpoint
https://api.browserstack.com/users
Header: Content-Type: application/json
3. Build the request body
At minimum you need an email and a full name. Role defaults to “user” if you leave it out anyway. You can also drop the new user into one or more existing teams by supplying their numeric team IDs now.
{
    "email": "[email protected]",
    "name": "Sam Patel",
    "role": "user", // optional: admin, user, qa
    "team_ids": [123, 456] // optional: adds Sam to teams now
}
4. Fire the POST request
curl -u "YOUR_USERNAME:YOUR_ACCESS_KEY" \
-X POST \
-H "Content-Type: application/json" \
-D '{
    "email": "[email protected]",
    "name": "Sam Patel",
    "role": "user",
    "team_ids": [123, 456]
}' \
https://api.browserstack.com/users
5. Check the response
- 201 Created with a JSON payload means the user is live.
- 409 Conflict usually means that email is already in the organization.
- 401 Unauthorized? Double-check the access key.
6. Store the returned user ID
The API returns an id for every newly created user. Keep that value; future update or deactivation requests need it to target the right account.
Torii for SaaS Management
Looking to tighten up the sprawl of SaaS in your company? Torii’s SaaS Management Platform lets you take back control in several key ways that save both time and money:
- Uncover shadow IT: AI continuously scans your environment, flagging unauthorized or overlooked apps in real time.
- Slash expenses: Trim your spend by dropping dormant seats and merging overlapping tools.
- Automate joiner/leaver workflows: Offload onboarding, offboarding, and other repetitive IT tasks to error-free automation.
- Never miss a renewal: Receive a heads-up long before any contract renewal hits your inbox.
Torii unites Finance, IT, and Security around one comprehensive source of truth for all things SaaS.
Explore the full feature set and customer stories at Torii.
Frequently Asked Questions
You can add teammates through BrowserStack's UI, Torii's SaaS-management workflows, or the BrowserStack Users API. Pick the UI for quick manual invites, Torii for fully automated onboarding, or the API when you want to script the process with a single POST request.
Admin users control billing, settings, and user management across the workspace, while standard Users can run tests but cannot touch administrative or subscription options. Choose Admin only for teammates who need full access; everyone else should stay on the safer User role.
Torii connects to your BrowserStack account, then runs a workflow whenever a trigger—like a new-hire date—fires. The action automatically provisions the user, assigns products, and syncs seat counts, eliminating manual clicks and ensuring consistent onboarding every time.
Send a POST request to https://api.browserstack.com/users with basic authentication and a JSON body that includes email, name, optional role, and team_ids. A 201 response confirms creation; save the returned id for future updates or deactivation calls.
Only enable product access that each teammate truly needs—Live, Automate, App Live, etc. By leaving unnecessary tools switched off during the invite, you avoid burning extra parallel sessions that could otherwise block concurrent test runs for the rest of the team.
Until the recipient clicks their emailed join link, the invite shows a "Pending" status in BrowserStack's User Management screen; you can resend the message from the same page if they haven't responded before the link's expiration date.

