3 Ways to Add Users to Your Udemy Account

Keeping a growing team enrolled in the right Udemy Business courses can feel like herding cats. Each new hire needs fast access, while current employees shift between projects and skill tracks.
This guide walks through three simple ways to add users to your Udemy account and keep enrollment tidy. Pick the method that fits your workflow and regain time for planning learning paths instead of chasing spreadsheets.
Table of Contents
Use Udemy’s UI
Here, you’ll use Udemy Business’s admin dashboard to invite new learners into your account.
Step 1: Sign in as an admin
- Log in at your Udemy Business URL with an account that has admin or group admin rights.
- The left-hand menu should now show the “Manage” section option.
Step 2: Open Users
- Select the Manage option in the left menu to open its tools.
- Choose Users to see everyone who already has access today.
Step 3: Start an invite
- Tap the Invite users button in the upper-right corner of the page.
- A dialog box pops up for the new user details.
Step 4: Enter email addresses
- Type an email, press Enter, and keep going until every address is listed.
- For a crowd, pick Upload CSV and add a simple file with one column labeled
email.
Step 5: (Optional) Pick groups
In the Groups dropdown, place people into an existing group or create a new one so they land on the right content right away.
Step 6: Check license settings
If your plan shows a License toggle, decide whether each person takes a paid seat before you send the invite.
Step 7: Send invites
- Take a moment to review the list and confirm every entry.
- When everything looks correct, click Invite users to send the messages. Udemy emails each person an invite link that the help center notes will expire after seven days.
Step 8: Monitor status
- Back on the Users page, switch to the Pending tab to see who hasn’t accepted yet.
- Use the three-dot menu next to a name to resend or cancel the invite if needed.
Setup is complete, and your new learners have everything they need to start their courses.
Use Torii
Stop opening Udemy just to add new team members. With Torii, a SaaS management platform, users land in Udemy automatically. SMPs pull your subscriptions into one place so you can onboard or offboard employees, track licenses, and more from a single dashboard.
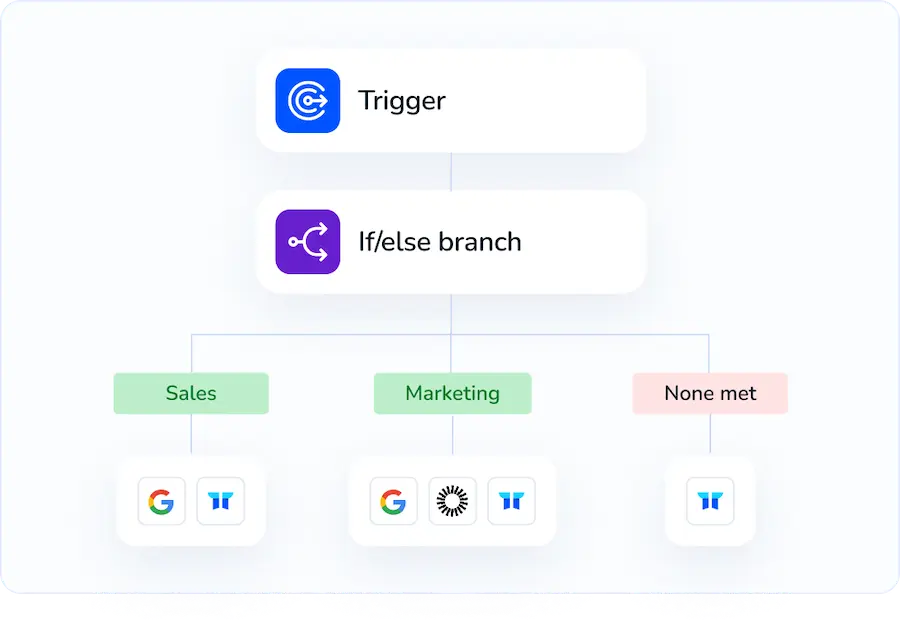
Once Torii takes over, user creation happens automatically whenever a set event hits, such as a hire date, a departure, or a contract milestone. That automation removes the mind-numbing manual steps.
To place a user in Udemy directly through Torii, do the following:
1. Sign up for Torii
Contact Torii to start a no-cost, two-week proof of concept.
2. Connect your Udemy account to Torii
Once your Torii tenant goes live, hook up your current Udemy instance. Use these steps to finish the integration: Udemy integration guide.
3. Create a Torii workflow for Udemy
Inside Torii, open the Workflows tab, pick a trigger, and add an action that creates the user in Udemy. From then on, each time the trigger fires, Udemy updates automatically.

Use Udemy’s API
The walkthrough below shows the precise call Udemy Business accepts when creating or inviting a learner. No dashboard clicks, only one tidy request.
1. Grab an API access token
In Settings › API, Udemy Business lets you create a Personal Access Token (PAT). Copy it and store it somewhere safe. For the request, supply the token as the basic auth username while leaving the password blank.
2. Collect the data you’ll send
Make sure these required fields are ready before sending the JSON payload:
emailfirst_namelast_name
Most teams also include the following optional details when they have them:
external_id(your HR system’s user ID)groups(array of group UUIDs)role(learneroradmin)
3. Build the POST request
You’ll post to the user endpoint that follows this pattern:
POST https://usermanagement.udemy.com/api-2.0/organizations/{org_uuid}/users/
Replace {org_uuid} with your org’s UUID from the Udemy admin page.
Set both headers as shown below so the server returns proper JSON:
Content-Type: application/json
Accept: application/json
Here’s a sample body that covers every common field in one shot:
{
    "email": "[email protected]",
    "first_name": "Sam",
    "last_name": "Taylor",
    "external_id": "E12345",
    "groups": ["2c90ee0f8e4d"],
    "role": "learner"
}
If you prefer curl, the snippet below starts you off:
curl -u YOUR_PAT: \
-H "Content-Type: application/json" \
-H "Accept: application/json" \
-X POST \
-D '{
    "email": "[email protected]",
    "first_name": "Sam",
    "last_name": "Taylor",
    "role": "learner"
}' \
https://usermanagement.udemy.com/api-2.0/organizations/0b5d3e07-9df8-4ad8-96db-83d4b6d9e5f1/users/
4. Check the response
The server answers with a straightforward status code that tells you what happened:
201 Createdmeans the invite went out or the account was auto-provisioned (depends on your org settings).- The JSON payload returns the new
id,status(invitedoractive), and any group assignments.
5. Handle edge cases
The most frequent errors you’ll see on this endpoint are these:
409 Conflictshows the email is already in your organization. Use theidfrom the response if you still need it.400 Bad Requestpoints to a missing or misspelled field. The response tells you which one.
6. Store the Udemy user ID
Store the returned user id in your own system for future calls. You’ll need it for course enrollments, role updates, and eventual offboarding.
Torii for SaaS Management
SaaS management gets easier once you see everything in one place. Torii’s SaaS Management Platform helps you:
- Uncover shadow IT: AI continuously scans your organization, surfacing unapproved apps in real time.
- Reduce spending: Cut costs by eliminating idle licenses and overlapping tools.
- Automate onboarding and offboarding: Save time and prevent mistakes by streamlining employee lifecycle tasks.
- Stay ahead of renewals: Receive timely alerts before contracts come up for renewal.
Torii offers a genuinely end-to-end SaaS Management Platform, giving Finance, IT, and Security a single, reliable source of truth.
Explore the full platform and customer stories at Torii today.
Frequently Asked Questions
Udemy Business lets you add people in three ways: use the admin dashboard’s Invite Users button, automate provisioning with Torii SaaS-management workflows, or call Udemy’s user-management REST API. Pick the route that matches your headcount, technical skills, and existing onboarding process.
Yes. In the Users screen, click Invite Users, choose Upload CSV, and submit a one-column file titled \"email\". Udemy reads every row, generates one invite per address, and shows their status in the Pending tab for easy follow-up.
Torii connects to your Udemy tenant, then runs no-code workflows that trigger on events like new hires or departures. When the rule fires, Torii pushes the employee’s details to Udemy, assigns groups or licenses, and logs the action automatically.
Send a POST request to https://usermanagement.udemy.com/api-2.0/organizations/{org_uuid}/users/ with a JSON body containing \"email\", \"first_name\", and \"last_name\". Authenticate using your Personal Access Token as the username, leave the password blank, and set Content-Type and Accept to application/json.
After sending invites, return to Users and open the Pending tab. Each outstanding learner appears with a three-dot menu where you can resend, cancel, or copy the invite link. Once someone accepts, their status switches to Active automatically.
The user-creation endpoint mainly returns 201 Created, but watch for 409 Conflict when the email already exists and 400 Bad Request for missing or misspelled fields. Review the response JSON to identify the issue, correct the data, and resend.

